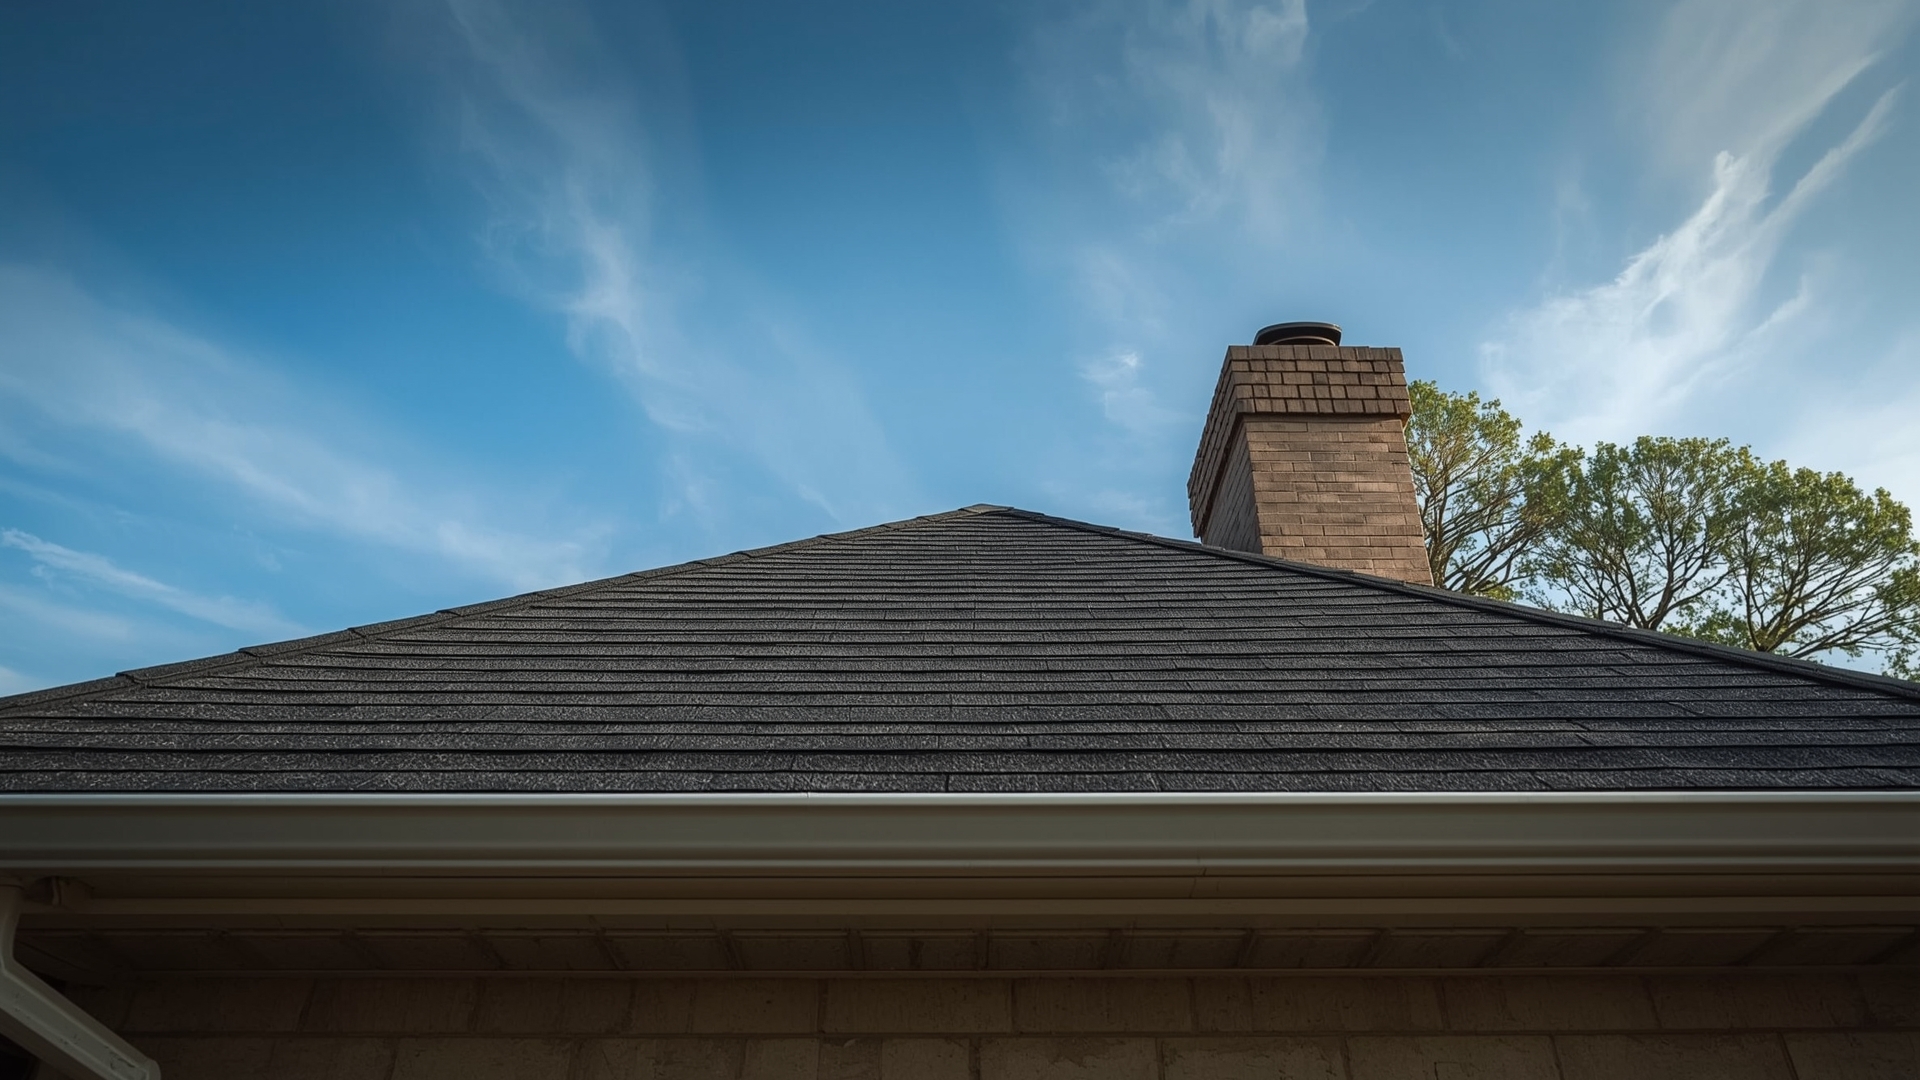
Your roof is the first line of defense between your home and the weather. But most homeowners never look at it until something goes wrong. A small crack or clogged gutter can quietly turn into a $5,000 repair bill if you wait too long. Regular maintenance changes that equation entirely.
This checklist walks you through every seasonal and annual task that keeps your roof in good shape. You don’t need to be a contractor. You just need to know what to look for and when to look for it.
Key Takeaways
- Inspect twice a year: Spring and fall are the best times for a full roof inspection.
- Gutters are part of your roof system: Clogged gutters cause water to back up under shingles and rot the decking.
- Moss and algae shorten shingle life: Organic growth traps moisture and degrades asphalt shingles faster than normal wear.
- Most homeowners can do visual inspections safely from the ground: You don’t need to climb up to check most warning signs.
- Catching issues early saves money: A $200 flashing repair ignored can become a $3,000 water damage restoration job.
- Document everything: Photos of your roof’s condition create a timeline that helps with insurance claims and contractor bids.
What Should Be on a Roof Maintenance Checklist?

Quick Answer: A roof maintenance checklist should cover shingle condition, flashing integrity, gutter health, ventilation, moss or algae growth, and attic moisture. Inspecting these six areas twice a year catches 90% of problems before they cause interior damage.
Think of roof maintenance the same way you think about getting your car’s oil changed. You don’t wait for the engine to fail. You follow a schedule to prevent failure in the first place.
A complete checklist covers both the exterior and interior of your roof system. The exterior includes shingles, flashing, gutters, and the ridge line. The interior includes attic ventilation, insulation, and signs of water intrusion.
Here’s a master overview of every category your checklist should address:
- Shingle condition (cracks, curling, missing granules, blistering)
- Flashing condition around chimneys, vents, skylights, and valleys
- Gutter and downspout function and cleanliness
- Soffit and fascia condition (wood rot, pest entry points)
- Attic ventilation (intake and exhaust vents clear and functional)
- Attic moisture and insulation (no dark staining, mold, or wet spots)
- Moss, algae, and lichen presence on shingles
- Ridge cap shingles and ridge vent condition
- Pipe boot seals and rubber collars around plumbing vents
- Tree branches and debris proximity to roof surface
When Is the Best Time to Inspect Your Roof?
Quick Answer: Inspect your roof in spring after winter storms and again in fall before cold weather arrives. These two windows let you fix storm damage and prepare your roof for the season most likely to cause leaks.
Spring inspections catch damage from winter ice, snow weight, and freeze-thaw cycles. Ice dams, in particular, can force water under shingles and cause invisible damage to decking and insulation.
Fall inspections prepare your roof for the wettest and coldest months. Clear gutters before leaves clog them. Seal any flashing gaps before freezing temperatures make caulk and sealant nearly impossible to apply properly.
Summer and winter checks are lighter. In summer, look for blistering shingles caused by heat and poor ventilation. In winter, watch for ice dams forming at the eaves after storms.
Roof Inspection Timing by Season
| Season | Primary Task | Key Risk to Check | Time Required |
|---|---|---|---|
| Spring | Full inspection + damage assessment | Ice dam damage, lifted shingles | 2-3 hours |
| Summer | Ventilation and granule check | Blistering, granule loss from heat | 1 hour |
| Fall | Full inspection + gutter cleaning | Clogged gutters, cracked caulk | 3-4 hours |
| Winter | Ice dam monitoring | Ice buildup at eaves | 30 minutes after storms |
How Do You Check Shingles for Damage Without Going on the Roof?
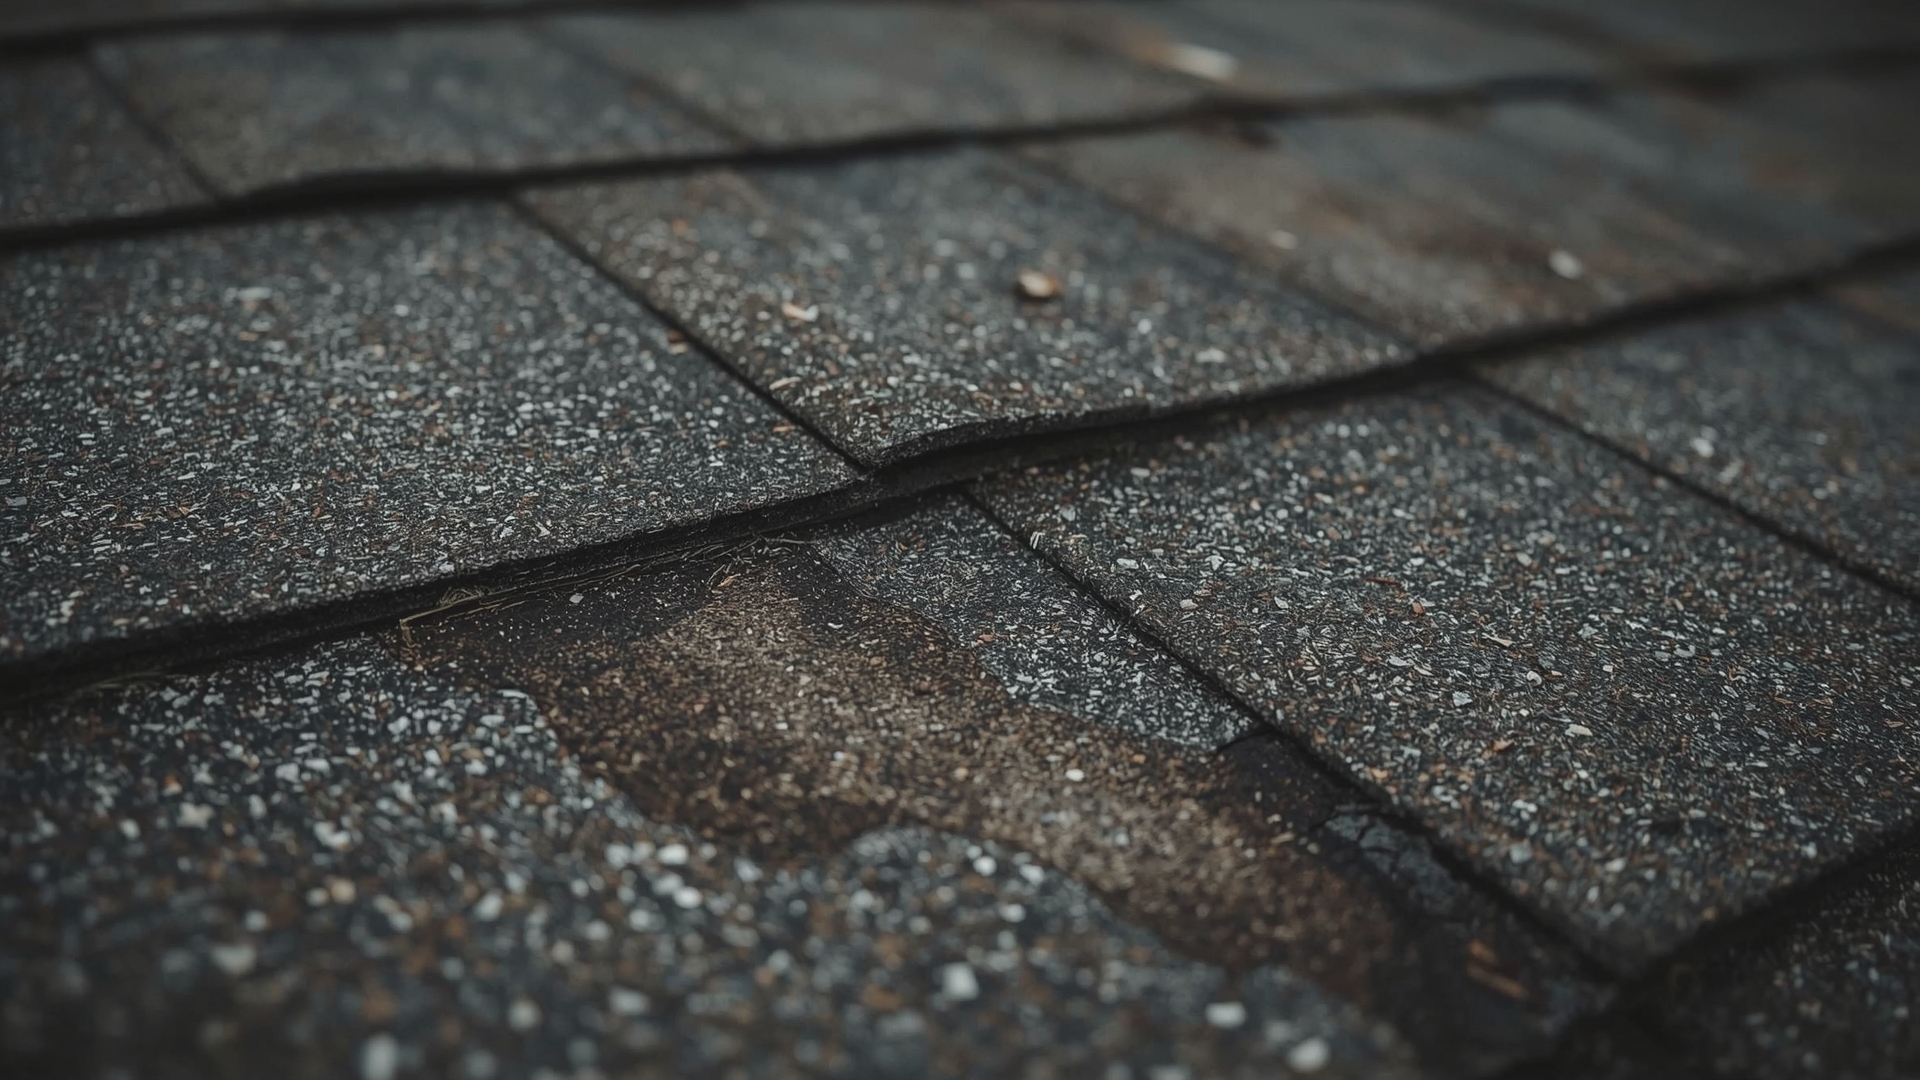
Quick Answer: Use binoculars from the ground or a ladder at the eave edge. Look for missing shingles, curled edges, dark patches, bare spots without granules, and cracked surfaces. Check your gutters for granule buildup, which signals shingle wear.
You don’t need to walk the roof to get a solid read on shingle condition. Start at ground level with binoculars. Work around all four sides of the house systematically.
Here’s what each warning sign tells you:
What Do Different Types of Shingle Damage Mean?
- Curling (cupping or clawing): Moisture imbalance or aging. Shingles near end of life.
- Missing granules: UV exposure without protection. Check gutters for gritty buildup.
- Cracked or split shingles: Thermal movement or impact damage. Increases leak risk immediately.
- Blistering: Poor ventilation trapping heat under shingles. Shingles delaminating from inside out.
- Missing shingles: Wind damage or failed nail seal strips. Exposed decking is an urgent repair.
- Dark staining (algae): Gloeocapsa magma bacteria. Cosmetic at first, damaging over time.
Shingle Damage EAV Reference Table
| Damage Type | Cause | Urgency Level | Average Repair Cost | DIY Possible? |
|---|---|---|---|---|
| Missing shingles | Wind (50+ mph), failed nail seal | Urgent (24-48 hours) | $150-$400 per section | Yes, with safety gear |
| Curling shingles | Age (15+ years), moisture imbalance | Schedule within 90 days | $200-$500 per section | Limited |
| Granule loss | UV degradation, age, impact | Monitor quarterly | Full replacement if widespread | No |
| Cracked shingles | Thermal shock, impact | Repair within 30 days | $100-$350 per shingle area | Yes |
| Blistering | Poor ventilation, manufacturing defect | Inspect ventilation first | $300-$800 (vent + shingles) | Partial |
| Algae staining | Moisture, shade, organic debris | Clean within one season | $200-$600 (soft wash) | Yes |
What Are the Most Common Roof Flashing Problems to Look For?
Quick Answer: Flashing failures at chimneys, skylights, and pipe boots cause more leaks than shingle damage. Look for lifted metal edges, cracked sealant, rust stains, and gaps where flashing meets masonry or roofing material.
Flashing is the thin metal (usually aluminum or galvanized steel) that seals joints where two surfaces meet. These are the most vulnerable spots on any roof. Water always finds the lowest point, and flashing is where it tries to sneak in.
Where Should You Check Flashing on Your Roof?
- Chimney flashing: Step flashing along the sides and counter flashing embedded in the mortar. Look for cracked caulk and separated metal.
- Skylight flashing: All four edges should be tight against the curb. Check for lifted corners and cracked sealant.
- Valley flashing: The V-shaped channel where two roof planes meet. Look for debris buildup and worn metal.
- Pipe boot seals: The rubber collar around plumbing vents. Rubber cracks within 10-15 years. Replace before it fails.
- Drip edge: The metal strip at the eave and rake. Should overlap gutters cleanly with no gaps.
- Wall-to-roof transitions: Where a roof meets a vertical wall. Step flashing and kickout flashing must direct water away from the wall.
How Should You Clean and Maintain Your Gutters as Part of Roof Care?
Quick Answer: Clean gutters at least twice a year: once in late fall after leaves drop and once in spring. Check that downspouts extend 4-6 feet from the foundation. Clogged gutters cause fascia rot, foundation damage, and water backup under shingles.
Gutters are part of your roof system, not a separate concern. When they overflow, water saturates the fascia board (the horizontal trim behind the gutter). Rotted fascia leads to gutter failure, and gutter failure leads to water pooling against the foundation.
Beyond cleaning, check that gutters are pitched correctly. They should slope about 1/4 inch for every 10 feet toward the downspout. Standing water in gutters means the pitch is off or the hanger is sagging.
Gutter Maintenance EAV Table
| Component | Inspection Point | Acceptable Condition | Replacement Trigger | Average Cost |
|---|---|---|---|---|
| Gutter channel | Debris, standing water, pitch | Clean, 1/4″ slope per 10 ft | Cracks, rust through, separation | $3-$30 per linear foot |
| Downspout | Clogs, extension length | Free-flowing, 4-6 ft extension | Crushed, disconnected | $50-$150 per downspout |
| Gutter hangers | Spacing, sag, corrosion | Every 24-36 inches, tight | Pulling from fascia | $1-$5 per hanger |
| Fascia board | Wood rot, paint peeling | Firm, no soft spots | Soft, crumbling, discolored | $6-$20 per linear foot |
| End caps and seams | Sealant cracks, separation | Fully sealed, no gaps | Visible gaps or dripping | $5-$15 DIY sealant |
How Does Attic Ventilation Affect Your Roof’s Lifespan?
Quick Answer: Poor attic ventilation traps heat and moisture that degrade shingles from below. Proper ventilation requires 1 square foot of vent area per 150 square feet of attic space. Inadequate ventilation can cut shingle lifespan by 5-10 years.
Most homeowners never think about their attic as part of roof maintenance. But attic conditions directly affect how long shingles last and whether moisture damage develops in the decking beneath them.
In summer, an under-ventilated attic can reach 150°F or hotter. That heat bakes shingles from below, causing blistering and accelerated granule loss. In winter, warm air from living spaces rises into the attic. If it can’t escape, it condenses on cold decking and causes rot and mold.
What Should You Look for in the Attic During a Roof Inspection?
- Dark staining on the underside of the roof decking (sign of past or ongoing moisture)
- Mold or mildew on rafters or insulation
- Frost on the decking in winter (condensation from poor ventilation)
- Daylight visible through roof boards (gaps in decking or missing shingles)
- Blocked soffit vents (insulation pushed over intake vents, blocking airflow)
- Insulation that appears wet, compressed, or discolored
How Do You Deal With Moss, Algae, and Lichen on Shingles?
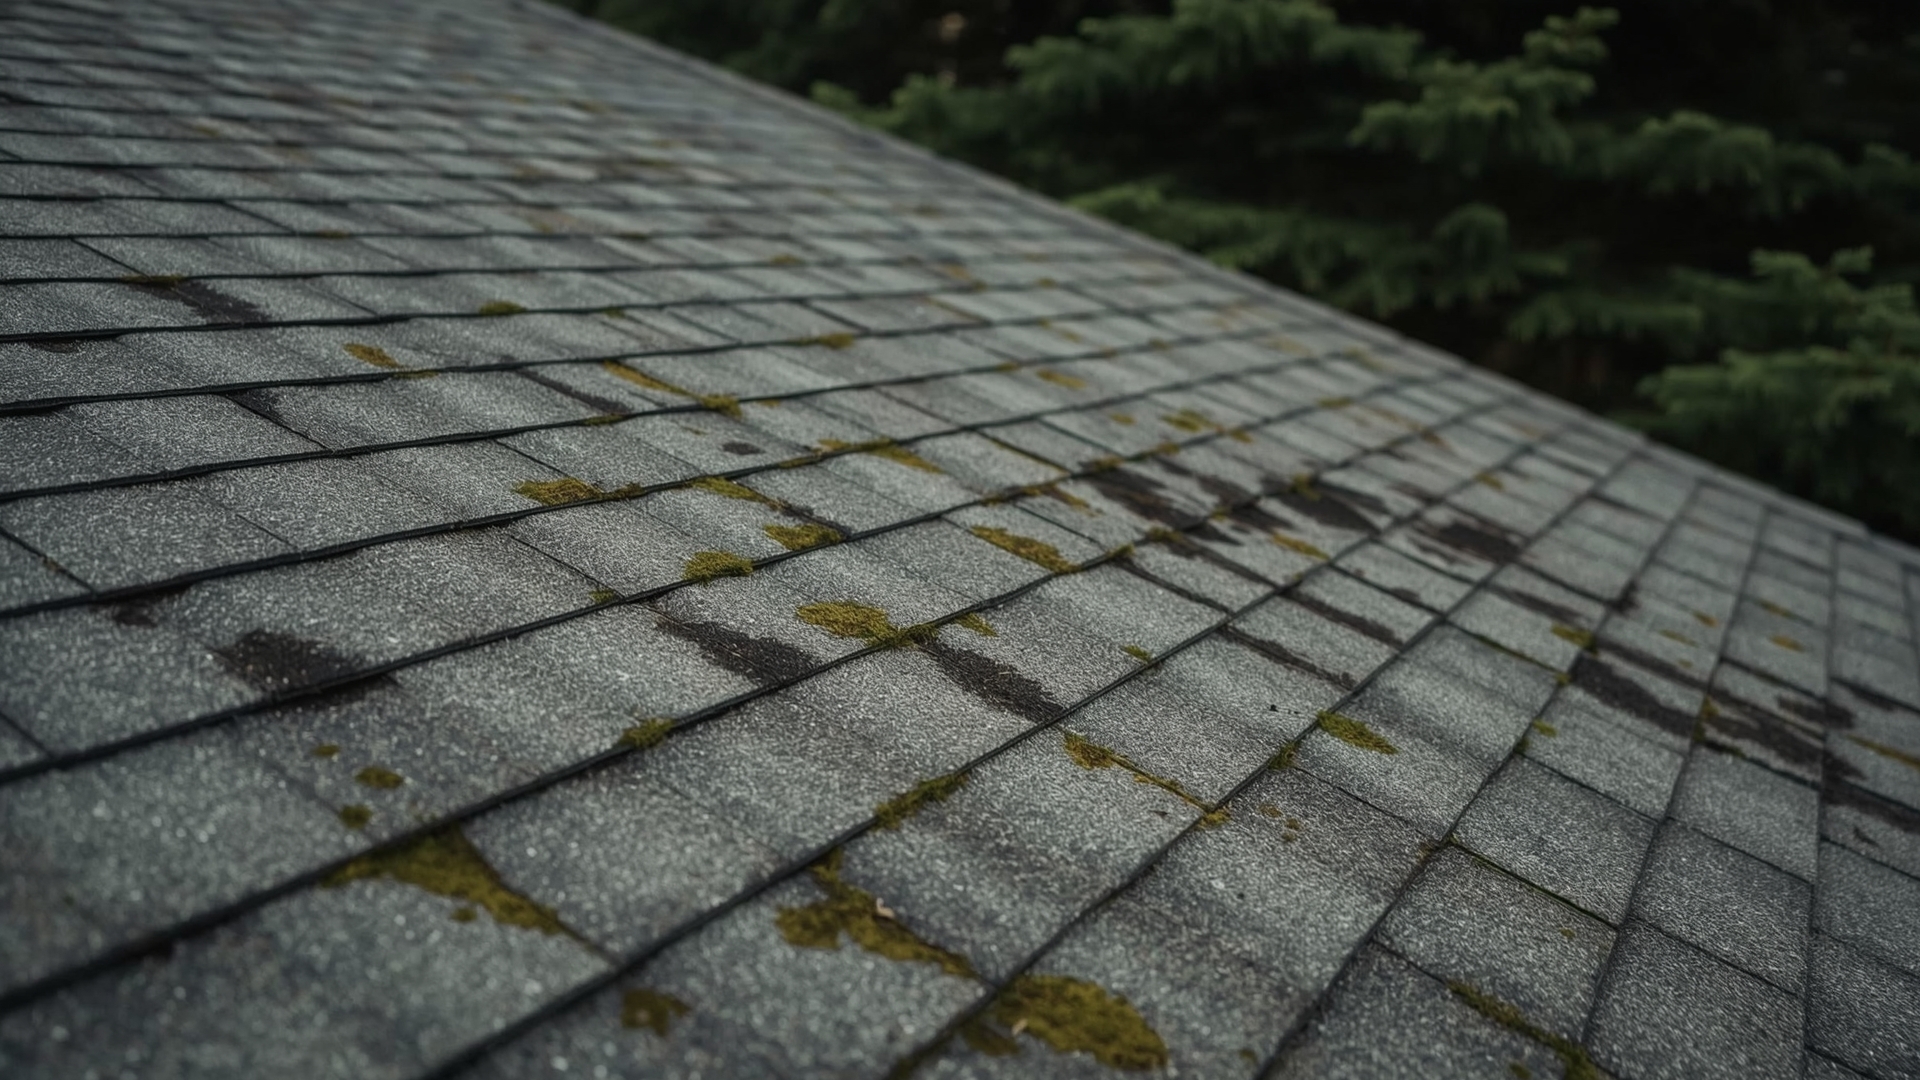
Quick Answer: Remove moss and algae with a diluted sodium hypochlorite solution (1 part bleach, 3 parts water) applied with a low-pressure sprayer. Never pressure wash shingles. Zinc or copper strips at the ridge line prevent regrowth by releasing mineral ions when it rains.
Moss, algae, and lichen are three different organisms, and they cause different levels of damage.
Algae (the dark streaking you see on roofs in humid climates) is mostly cosmetic at first. But over time, it creates a film that traps moisture against the shingle surface and accelerates granule loss.
Moss is worse. It has root-like structures called rhizoids that anchor into the shingle surface and lift the edges. Lifted shingle edges allow water underneath.
Lichen is the most stubborn. It bonds directly to the mineral granules. Removing lichen can pull granules off with it, so gentle treatment and patience are essential.
Moss, Algae, and Lichen Comparison
| Organism | Appearance | Damage Mechanism | Treatment | Prevention |
|---|---|---|---|---|
| Algae (Gloeocapsa magma) | Dark black/green streaks | Traps moisture, granule degradation | Bleach solution, soft wash | Zinc/copper strips, algae-resistant shingles |
| Moss | Green/brown fuzzy patches | Lifts shingle edges, traps water | Bleach solution, careful brushing | Trim overhanging branches, zinc strips |
| Lichen | Crusty gray-green growth | Bonds to granules, surface damage on removal | Slow-acting treatment, multiple applications | Copper strips, reduce shade |
What Maintenance Tasks Should You Do After a Major Storm?
Quick Answer: After a major storm, do a ground-level inspection within 48 hours. Look for missing shingles, displaced flashing, dented pipe boots, and gutter damage. Document everything with photos before making any repairs, especially if you plan to file an insurance claim.
Storm damage inspections follow a different logic than routine maintenance. You’re looking for acute, specific damage rather than gradual wear. Time matters too. Most insurance policies require you to report damage promptly.
Post-Storm Roof Inspection Checklist
- Walk the perimeter from the ground. Use binoculars to scan the full roof surface.
- Check gutters and downspouts for dents, separation, or debris impact damage.
- Look for shingle debris on the ground or in shrubs, which indicates wind-lifted shingles.
- Inspect the attic for any new water stains or daylight visible through the decking.
- Check skylights and chimneys for cracked glazing or displaced flashing.
- Photograph all damage with timestamps before any temporary repairs.
- Apply a tarp over exposed decking if shingles are missing (use 6-mil polyethylene, secured without roof nails if possible).
- Contact a licensed contractor for a professional assessment before filing an insurance claim.
Which Roof Maintenance Tasks Can Homeowners Do Themselves?
Quick Answer: Homeowners can safely handle gutter cleaning, ground-level visual inspections, attic checks, moss treatment, and minor caulk repairs around flashing. Leave walking the roof, replacing flashing, and any structural repairs to licensed roofing contractors.
Safety is the first filter. Roof falls are a leading cause of home improvement injuries. If you’re not comfortable on a ladder or if your roof pitch is steeper than a 4:12 slope (about 18 degrees), keep your feet on the ground.
The second filter is skill. Replacing shingles looks simple but getting the nail placement, overlap, and seal strip activation right takes practice. A poorly nailed shingle is worse than a missing one because it looks fine while leaking.
DIY vs. Professional Roof Tasks
| Task | DIY Appropriate? | Why | When to Call a Pro |
|---|---|---|---|
| Visual inspection (ground level) | Yes | No climbing required, no tools needed | If you can’t identify what you’re seeing |
| Gutter cleaning | Yes (1-story) | Low risk with proper ladder setup | 2+ stories or steep lot grade |
| Attic inspection | Yes | Interior access, no height risk | Structural damage or mold suspected |
| Moss/algae treatment | Yes | Spray from ground or eave ladder | Lichen or widespread infestation |
| Flashing re-caulking | Limited | Surface caulk only, not structural repair | Flashing is lifted, rusted, or separated |
| Shingle replacement | No | Nail pattern and seal strip require skill | Always use a licensed roofer |
| Flashing replacement | No | Requires cutting, bending, and waterproofing | Always use a licensed roofer |
How Long Does a Well-Maintained Roof Actually Last?
Quick Answer: A maintained asphalt shingle roof lasts 20-30 years. A neglected one may fail in 12-15 years. Metal roofs last 40-70 years with basic care. Regular maintenance can add 5-15 years to any roofing system by preventing compounding damage.
Maintenance doesn’t just extend life. It also protects your warranty. Most manufacturer warranties require evidence of routine care and prohibit certain types of damage caused by neglect, like moss growth or gutter overflow saturating the decking.
The return on investment is clear. A professional roof inspection costs $150-$350. A roof replacement costs $8,000-$25,000+. Finding a $400 flashing problem before it causes $6,000 in water damage is not a close call.
Roofing System Lifespan by Material
| Roofing Material | Lifespan (Maintained) | Lifespan (Neglected) | Key Maintenance Need | Inspection Frequency |
|---|---|---|---|---|
| 3-tab asphalt shingles | 20-25 years | 12-15 years | Granule retention, algae control | 2x per year |
| Architectural asphalt shingles | 25-30 years | 15-18 years | Ventilation, flashing integrity | 2x per year |
| Metal (standing seam) | 40-70 years | 30-40 years | Fastener and sealant check | 1x per year |
| Wood shake | 25-35 years | 10-15 years | Moss removal, split replacement | 2x per year |
| Clay/concrete tile | 40-50 years | 25-35 years | Cracked tile replacement, underlayment | 1-2x per year |
| Modified bitumen (flat) | 15-20 years | 8-12 years | Seam inspection, ponding water | 2-4x per year |
How Do You Create a Roof Maintenance Schedule You’ll Actually Follow?
Quick Answer: Tie roof maintenance tasks to calendar events you already track. Spring inspection in April after tax season. Fall inspection in October during daylight saving time change. Gutter cleaning when you rake leaves. Attic check every time you change smoke detector batteries.
The most common reason homeowners skip roof maintenance isn’t laziness. It’s that the tasks have no natural trigger. Tying each task to something you already do creates a habit system that runs on autopilot.
Monthly Roof Maintenance Trigger Calendar
- April: Full exterior inspection (binoculars), attic moisture check, photograph current condition
- May: Clear any debris from winter off the roof surface using a leaf blower from the ground
- July: Check for blistering shingles and verify ridge and soffit vents are unobstructed
- October: Full exterior inspection, gutter cleaning, re-caulk any minor flashing gaps
- November: Final gutter cleaning after all leaves have dropped, downspout extensions in place
- After any storm with 50+ mph winds or hail: Ground-level damage assessment within 48 hours
Frequently Asked Questions
How much does a professional roof inspection cost?
A professional roof inspection typically costs $150 to $350 for a standard single-family home. Some roofing contractors offer free inspections as part of an estimate, but an independent inspection from a home inspector gives you an unbiased assessment.
Can I pressure wash my roof to remove dirt and algae?
No. Pressure washing blasts away the mineral granules that protect asphalt shingles from UV damage. Use a soft wash system instead. This means low pressure and a cleaning solution like diluted sodium hypochlorite, which kills algae without damaging shingle surfaces.
How do I know if my roof has an ice dam?
An ice dam is a ridge of ice that forms at the eave edge after snow melts, runs down the roof, and refreezes. You’ll see a thick line of ice at the gutters and sometimes icicles. The danger is water backing up behind the dam and under the shingles, causing interior leaks. Proper attic insulation and ventilation are the long-term fix.
Does homeowner’s insurance cover routine roof maintenance?
No. Homeowner’s insurance covers sudden, accidental damage like storm or hail damage. It does not cover repairs caused by wear, neglect, or lack of maintenance. Keeping maintenance records actually helps you during a claim by proving the damage was sudden rather than gradual.
What is pipe boot replacement, and how often does it need to happen?
A pipe boot is the rubber collar that seals the gap around a plumbing vent pipe where it exits the roof. The rubber degrades from UV exposure and heat cycling. Most pipe boots need replacement every 10 to 15 years, regardless of overall shingle condition. It’s one of the most common sources of roof leaks on homes with aging roofs.
Should I get a roof inspection before buying a home?
Yes, always. A standard home inspection includes a basic roof check, but a dedicated roof inspection goes much deeper. It can reveal flashing problems, soft spots in the decking, and remaining shingle life that a general inspector might miss. The cost of an inspection is minimal compared to the cost of inheriting a failing roof.