Choosing a metal roof fastener system is one of the most consequential decisions in any metal roofing project. The fastener system you use affects how long your roof lasts, whether it leaks, how well it handles temperature swings, and what your warranty covers. Yet most homeowners and even some contractors treat it as an afterthought.
There are two fundamentally different approaches: concealed fastener systems, where the attachment points are hidden beneath the panels, and exposed fastener systems, where the screws sit on top of the panel face. Each has a different failure profile, a different installation method, and a different ideal application. Getting this wrong can mean leaks in three years instead of forty.
Key Takeaways
- Concealed fasteners eliminate penetration leak points because no screw ever passes through the panel face — clips hold panels from underneath.
- Exposed fasteners cost 30–50% less to install but require washer replacement every 10–15 years to prevent water intrusion.
- Thermal movement is the hidden risk — panels expand and contract up to 1 inch per 20-foot run, and the wrong fastener system will buckle or pull screws loose over time.
- Standing seam profiles are the dominant concealed system, available in mechanically seamed and snap-lock variants.
- Exposed fastener panels (R-panel, corrugated) are better suited for outbuildings, agricultural structures, and low-slope commercial applications.
- Clip type matters as much as fastener type — fixed clips lock panels rigidly while floating clips allow thermal travel.
- Manufacturer warranty requirements often dictate fastener type, pattern, and torque spec — using the wrong fastener voids coverage.
What Is a Concealed Fastener System for Metal Roofing?
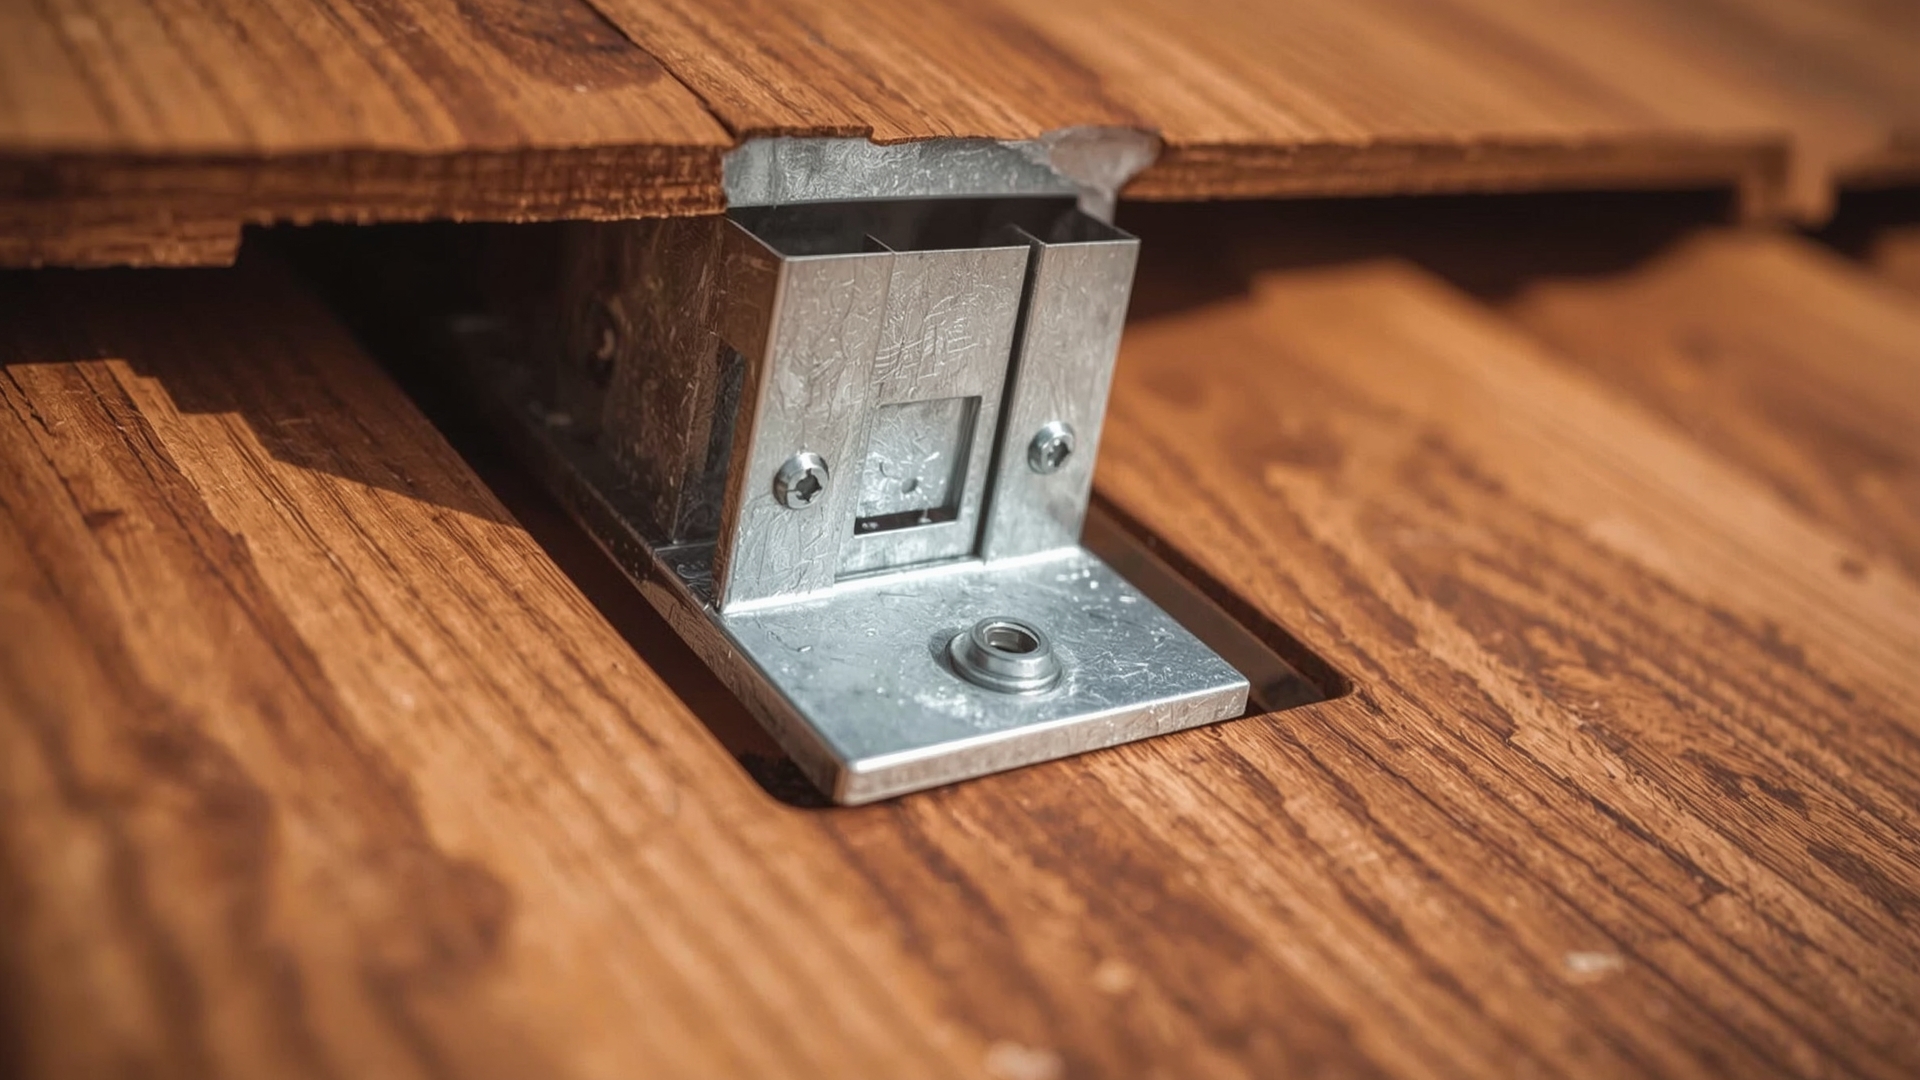
Quick Answer: A concealed fastener system attaches metal roof panels using hidden clips or cleats secured to the deck. The panels interlock over those clips, so no screws pass through the exposed panel surface. This eliminates direct penetration leak points entirely.
In a concealed system, a metal clip is fastened to the roof deck or structural framing. The panel then snaps or slides over that clip. The next panel overlaps the first, locking the clip inside the seam. No fastener ever touches the weather side of the panel.
This approach creates a continuous, uninterrupted panel surface. Rain and wind have no screw head, no washer, and no penetration to attack. It is the gold standard for steep-slope residential metal roofing and high-wind coastal applications.
How Concealed Clips Actually Work
Clips are stamped or formed from galvanized steel or stainless steel. They slot into the panel leg (the raised edge of a standing seam panel) and hold the panel in place without touching the panel face. The seam is then closed over the clip, either by snapping it shut or running a mechanical seamer tool down the panel length.
The clip itself is fastened to the deck with two to four screws per clip. Those screws stay completely under the panel. Water never reaches them.
What Is a Floating Clip vs a Fixed Clip?
A floating clip has a slotted fastener hole. As the panel heats up and expands, the clip slides within that slot instead of fighting against a rigid anchor point. A fixed clip is bolted in place with no room to move. Floating clips are required on any panel run longer than about 30 feet. Fixed clips can cause oil-canning (a wavy distortion) or pull screws loose on long panel runs in climates with large temperature swings.
What Is an Exposed Fastener System for Metal Roofing?
Quick Answer: An exposed fastener system drives screws directly through the metal panel face into the deck or purlins below. Each screw has a neoprene or EPDM washer that seals the penetration. It is faster and cheaper to install but requires periodic maintenance to prevent leaks.
Exposed fastener panels — commonly called through-fastened panels — include R-panel, corrugated metal, PBR panel, and 5-V crimp profiles. These are the corrugated or ribbed sheets you typically see on pole barns, agricultural buildings, and commercial warehouses.
Installation is straightforward: lay the panel, drive the screw. A trained crew can install exposed fastener metal roofing significantly faster than a standing seam system. That speed advantage is reflected directly in labor costs.
Why Exposed Fastener Washers Fail Over Time
The neoprene or EPDM washer compressed under each screw head is the only thing keeping water out of that penetration. UV radiation degrades these elastomers over time. In high-sun climates like Arizona or Florida, washers can start cracking in as little as 7–10 years. In milder climates, 15–20 years is more typical before replacement is needed.
When a washer fails, the compressed fit loosens. Water enters the screw hole. It then runs down the fastener shank and drips onto whatever is below. Multiply that by several hundred fasteners on an average roof, and you understand why exposed fastener systems have a higher long-term maintenance burden.
Over-Driven and Under-Driven Screws: The Installation Problem
Exposed fastener installation requires the right torque. Over-driving compresses the washer too far, distorting it so it no longer seals flat. Under-driving leaves a gap. Both conditions accelerate water intrusion. Most manufacturers specify a target torque range of 5–15 inch-pounds for panel screws, with the exact value depending on panel gauge and deck substrate.
How Do Concealed and Exposed Systems Compare Side by Side?
Quick Answer: Concealed systems cost more upfront — roughly $3–$6 more per square foot installed — but have lower lifetime maintenance costs and a longer useful life. Exposed systems are cheaper and faster to install but require washer inspection every 5 years and replacement every 10–15 years.
| Attribute | Concealed Fastener | Exposed Fastener |
|---|---|---|
| Installed Cost (residential) | $10–$18 per sq ft | $5–$10 per sq ft |
| Typical Panel Profiles | Standing seam, batten seam | R-panel, PBR, corrugated, 5-V crimp |
| Leak Risk (at fastener points) | None — no face penetrations | Moderate — every screw is a potential leak point |
| Maintenance Interval | Inspect every 5–10 years | Washer check every 5 years, replacement every 10–15 |
| Thermal Movement Accommodation | Yes (floating clips) | Limited — slots in panel or slotted holes required |
| Minimum Roof Pitch | 1:12 with sealant tape | ½:12 for corrugated, 1:12 for R-panel |
| Expected Lifespan | 40–70 years | 25–40 years (with maintenance) |
| Wind Rating Capability | Up to 200 mph (mechanically seamed) | 90–140 mph typical |
| Aesthetic Result | Clean, uninterrupted lines | Visible screw heads along panel ribs |
What Metal Panel Profiles Use Each Fastener System?
Quick Answer: Standing seam panels (snap-lock and mechanically seamed) are the primary concealed profiles. R-panel, PBR panel, corrugated, and 5-V crimp panels are the most common exposed fastener profiles. Panel profile and fastener method are inseparable design decisions.
Standing Seam Panels (Concealed)
Standing seam panels have raised vertical legs that interlock at the seam. The two main subtypes are snap-lock and mechanically seamed.
Snap-lock panels click together by hand along the seam. No seaming machine is required. They are common in residential applications, easier to install, and slightly more prone to seam separation under extreme wind uplift compared to mechanically seamed systems.
Mechanically seamed panels are rolled or crimped shut using a powered seaming machine that travels the full panel length. This creates a 360-degree or 180-degree folded seam. It is the most secure metal roofing seam available and is required on roofs with slopes below 2:12 or in hurricane zones.
Batten Seam and Nail Strip Panels (Concealed Variants)
Batten seam panels have a cap strip that covers the seam from above, secured by a clip below. They create a distinctive architectural look with a raised rectangular rib. Nail strip panels, sometimes called nail flange panels, use a flat nailing flange at the panel edge. The next panel overlaps that flange, hiding the fastener. This is technically a concealed system but is less robust than a full clip system.
R-Panel and PBR Panel (Exposed)
R-panel (also called PBR panel in structural applications) has a 1¼-inch tall major rib on a 12-inch spacing. Screws are driven through the flat pan between ribs and at the overlap. It is the most installed exposed fastener profile in North America for commercial and agricultural applications.
Corrugated and 5-V Crimp (Exposed)
Corrugated panels have a sinusoidal wave profile. They are the least expensive metal roofing option and are common on agricultural buildings and coastal vernacular architecture. 5-V crimp is a traditional profile used widely in the Gulf Coast and Caribbean, with a pattern of flat sections separated by V-shaped ribs.
How Does Thermal Movement Affect Fastener System Choice?
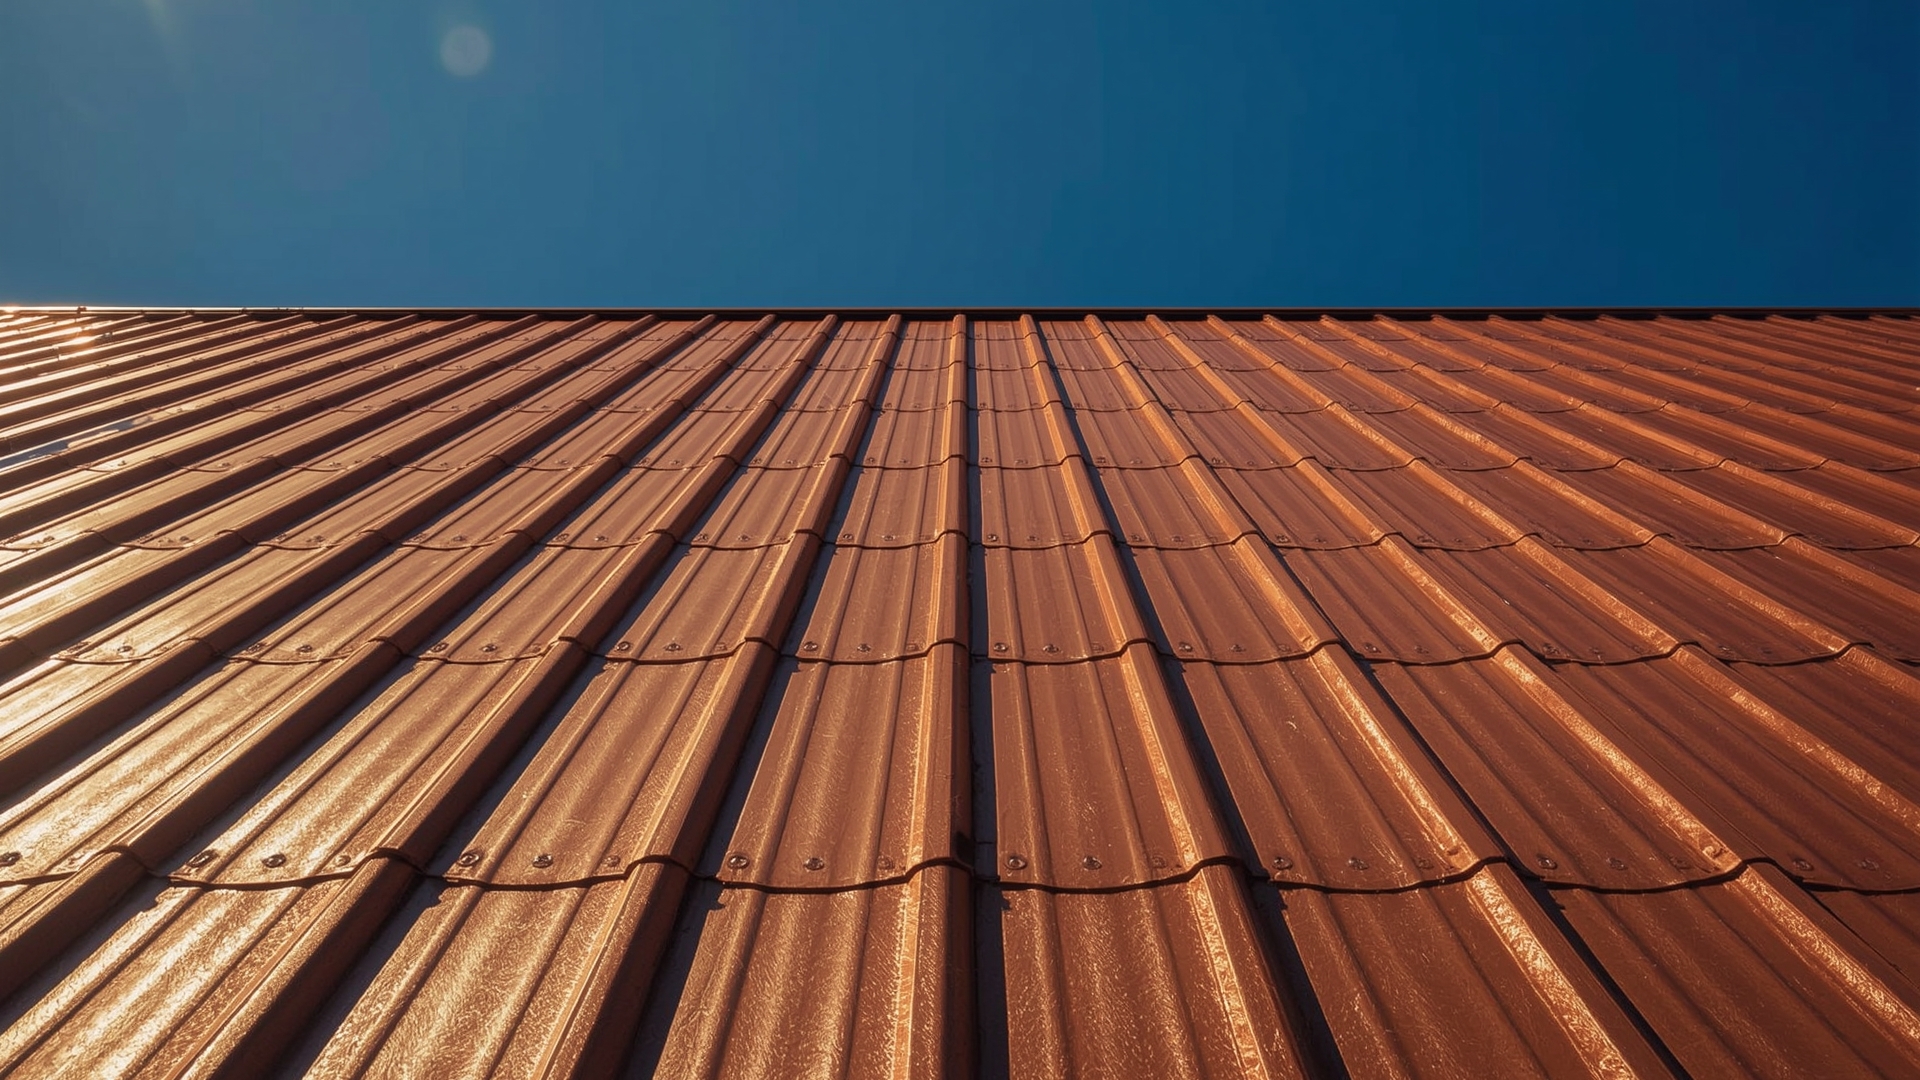
Quick Answer: Metal panels expand when hot and contract when cold. A 20-foot steel panel can move up to 1 inch across a 100°F temperature range. Exposed fastener systems restrict this movement, causing stress at screw holes. Concealed floating clips allow free travel without stress.
Thermal movement is physics, not a design flaw. Steel expands at roughly 0.0000065 inches per inch of length per degree Fahrenheit. A 40-foot steel panel spanning a 120°F daily temperature range — common in desert climates — can move nearly 0.37 inches end to end. That force has to go somewhere.
What Happens When Thermal Movement Is Restricted?
In an exposed fastener system, each screw acts as an anchor point. As the panel tries to move, the panel steel bends and flexes around those fixed points. Over years, this creates elongated screw holes (called “slot-out”), where the panel has worked back and forth around the screw shank until the original round hole is now an oval. At that point, the washer can no longer seal properly.
Oil-canning — a waviness or rippling visible on flat panel sections — is also partly caused by restrained thermal movement. It is primarily aesthetic, not structural, but it is often a sign of installation or design issues.
Floating Clip Design Specifications
| Clip Type | Slot Travel Distance | Max Recommended Panel Run | Material | Typical Load Rating |
|---|---|---|---|---|
| Standard floating clip | ½ inch | 30 feet | G90 galvanized steel | 175–250 lbs uplift |
| Extended floating clip | 1 inch | 60 feet | G90 galvanized steel | 175–250 lbs uplift |
| Two-piece floating clip | ¾ inch | 50 feet | Stainless steel (304) | 300–400 lbs uplift |
| Fixed clip | None | 20 feet maximum | G90 galvanized steel | 175–250 lbs uplift |
| High-wind clip (structural) | ¾ inch | 40 feet | Stainless steel (316) | 500+ lbs uplift |
What Are the Installation Requirements for Each System?
Quick Answer: Concealed systems require experienced installers with seaming tools, precise clip spacing, and sealant tape at seams. Exposed systems need careful screw torque control, correct washer compression, and consistent fastener pattern per manufacturer specs. Both require proper deck preparation and substrate compatibility checks.
Concealed Fastener Installation Steps
- Deck preparation: Install underlayment rated for metal roofing (typically a self-adhering membrane or a vented, heat-resistant synthetic). Flat decks require a minimum of ⅜-inch plywood or OSB. Structural standing seam on purlins requires engineering verification.
- Clip layout: Mark clip spacing per the manufacturer’s engineering documents. Clip spacing typically ranges from 12 inches to 24 inches on center depending on wind zone and panel width.
- Clip fastening: Drive the specified screw type and count into each clip. Most clips require #10 or #12 screws into wood decking, or self-drilling screws into metal purlins.
- Panel placement and alignment: Set the first panel with attention to eave alignment. Deviation here compounds across the entire roof.
- Seaming: Snap-lock panels engage by hand. Mechanically seamed panels require a powered seamer run from eave to ridge without stopping — pausing mid-panel creates a visible seam inconsistency.
- Sealant tape: Apply butyl sealant tape at end laps, penetrations, and any transitions. Never use silicone — it is not compatible with most Kynar-coated metal surfaces.
Exposed Fastener Installation Steps
- Layout and overlap: Determine overlap direction based on prevailing wind. Panels should overlap so wind blows over (not into) the seam edge.
- Panel placement: Align the first panel at the eave with correct overhang — typically ¾ inch to 1½ inches over the gutter or eave edge.
- Fastener placement: Drive screws at every rib on the eave and ridge rows, and every other rib in the field. Field fastener patterns vary — always follow the manufacturer’s pattern, not a general rule.
- Torque verification: Set the drill clutch to prevent over-driving. The washer should be slightly compressed but not distorted. A properly seated washer bulges slightly at the edge without folding.
- Lap screws: At panel side laps, drive lap screws in the flat of the overlap every 12–18 inches. These prevent the panels from spreading apart in wind.
Fastener Compatibility with Panel Coatings
| Panel Coating | Acceptable Fastener Material | Incompatible Fastener Material | Notes |
|---|---|---|---|
| Galvalume (AZ50) | Galvanized steel, stainless 304 | Bare copper, bare aluminum | Copper causes galvanic corrosion |
| Kynar 500 painted steel | Galvanized steel, stainless 304/316 | Bare copper, uncoated carbon steel | Match head color to panel color when exposed |
| Aluminum panel | Stainless 304/316, aluminum | Carbon steel, galvanized steel | Galvanic reaction between steel and aluminum accelerates corrosion |
| Galvanized steel (G90) | Galvanized steel, stainless 304 | Bare copper | Use stainless in coastal environments within 1 mile of saltwater |
| Weathering steel (Corten) | Stainless 316, weathering steel fastener | Standard galvanized steel | Galvanized coatings react with Corten patina chemistry |
Which Fastener System Is Better for Wind Resistance?
Quick Answer: Mechanically seamed concealed fastener systems offer the highest wind resistance, with tested ratings up to 200 mph. Exposed fastener panels typically test between 90 and 140 mph. The difference is in how uplift force is distributed — clip systems spread load across the full seam, not just screw points.
Wind uplift is the upward suction force on a roof during high winds. It is highest at corners and eaves — the same areas where fastener patterns are most critical. Building codes in hurricane and high-wind zones reference ASCE 7 (the structural engineering standard for wind loads) to determine required uplift ratings by roof zone.
In an exposed fastener system, the entire uplift load on a panel section is carried by the screws at the panel edges. In a concealed clip system, every clip across the panel width shares that load. More attachment points mean lower stress per point.
Florida Product Approvals and Miami-Dade County Requirements
Florida requires a Florida Product Approval (FL#) for all roofing products installed in the state. Miami-Dade County, one of the most wind-demanding jurisdictions in the US, additionally requires a Miami-Dade Notice of Acceptance (NOA). Meeting these approvals requires testing under the protocols of TAS 100, TAS 110, and FM 4471. Most mechanically seamed concealed systems qualify. Only certain exposed fastener systems do, and usually only with specific clip patterns and fastener schedules.
What Are the Long-Term Maintenance Differences Between Systems?
Quick Answer: Concealed systems mainly need periodic inspection of sealant tape at penetrations, transitions, and trim. Exposed systems require recurring washer inspection and eventual washer replacement across all fastener points — potentially hundreds of screws — to prevent widespread leaking.
Concealed System Maintenance Checklist
- Inspect panel seams for separation or damage at ridge and hip caps every 5 years
- Check butyl sealant at pipe penetrations, skylights, and wall transitions every 5 years
- Clear debris from valleys and gutters annually
- Inspect trim and flashing attachment points — these use exposed fasteners and are the most common leak source on an otherwise concealed system
- Check for panel movement or distortion near fixed points if oil-canning appears or worsens
Exposed System Maintenance Checklist
- Visual washer inspection annually — look for cracking, flattening, or missing washers
- Check for slot-out at screw holes every 5 years — if the hole has elongated, replace the screw and washer and fill the old hole with a metal repair plug
- Re-torque loose screws — do not over-drive; match original torque spec
- Replace all washers proactively at 12–15 years regardless of visible condition
- Apply lap sealant at side lap seams if any separation is visible
How Do Fastener Systems Affect Metal Roof Warranties?
Quick Answer: Most manufacturer warranties require the exact fastener type, pattern, and installation method specified in their technical data sheet. Substituting fasteners, skipping required clip types, or using the wrong seaming tool can void both the material warranty and any labor warranty the contractor provides.
Metal roofing manufacturers publish installation manuals that specify fastener type, size, material, and spacing to the inch. These are not suggestions. They are warranty conditions. A Kynar-coated standing seam system with an incorrect clip type may have zero warranty coverage even if the panels themselves are installed correctly.
What Warranties Cover — and What They Don’t
| Warranty Type | Typical Coverage Period | What It Covers | Common Exclusions |
|---|---|---|---|
| Paint/finish warranty | 30–40 years | Chalk, fade, peeling beyond threshold | Scratches, improper cleaning, coastal salt exposure without maintenance |
| Substrate/perforation warranty | 40 years | Rust-through from the panel interior | Cut edges, improper fasteners causing galvanic corrosion, ponding water |
| System/weathertight warranty | 10–30 years | Watertight performance of the complete installed system | Non-approved accessories, installer not certified, wrong clip type |
| Contractor labor warranty | 2–10 years | Workmanship defects | Acts of God, owner modifications, improper maintenance |
Which Fastener System Should You Choose for Your Project?
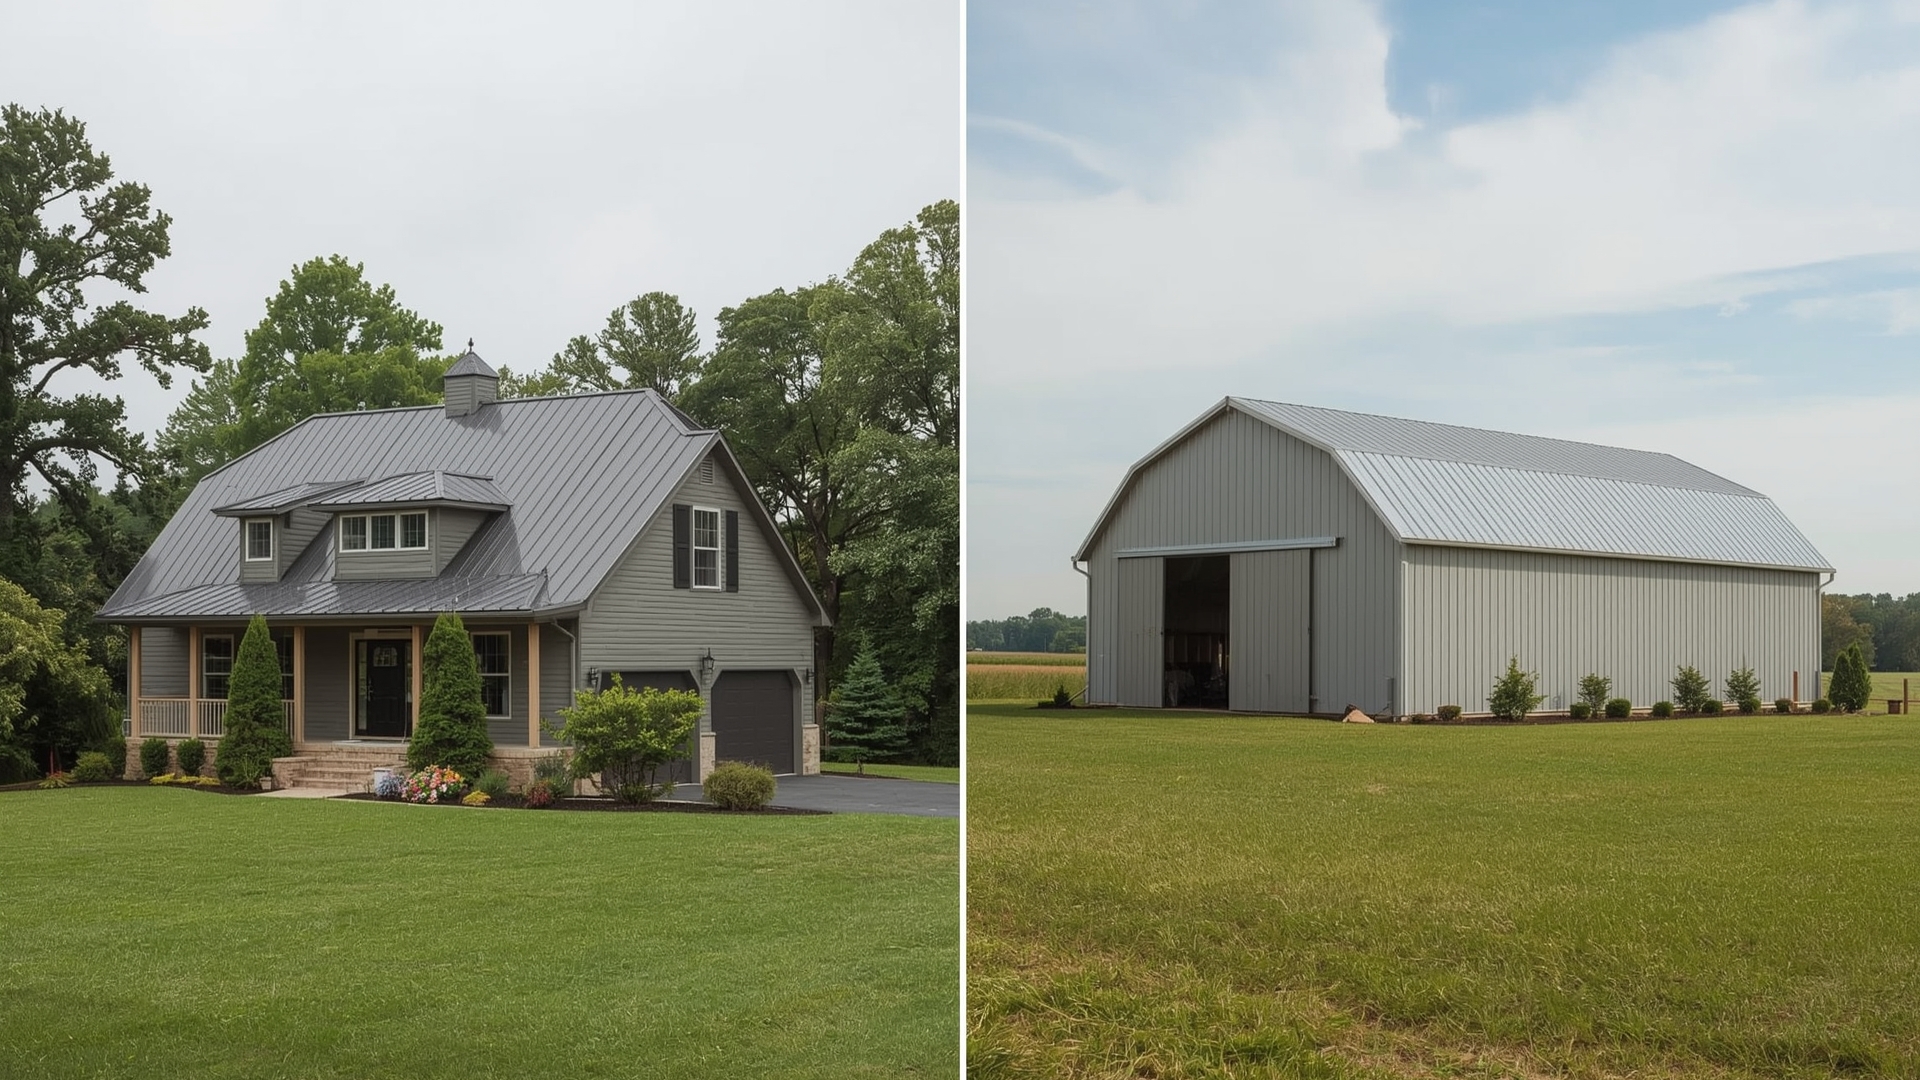
Quick Answer: Choose a concealed clip system (standing seam) for residential homes, coastal properties, and any roof in a high-wind zone. Choose an exposed fastener system for agricultural buildings, outbuildings, and commercial applications where low installed cost and speed matter more than long-term maintenance reduction.
Decision Framework by Application
| Application | Recommended System | Reasoning |
|---|---|---|
| Residential home (primary structure) | Concealed (standing seam) | Long service life, zero face penetrations, higher resale value |
| Coastal property (within 1 mile of saltwater) | Concealed (stainless clip) | Salt air accelerates corrosion at exposed fastener points |
| Agricultural building / pole barn | Exposed (R-panel, PBR) | Low cost, fast installation, acceptable maintenance tradeoff |
| Commercial flat/low-slope roof | Concealed (structural standing seam) | Low slope requires sealed seams; mechanically seamed systems are rated for ½:12 |
| Hurricane zone (Wind Zone III/IV) | Concealed (mechanically seamed) | Only mechanically seamed systems reliably achieve 160–200 mph wind ratings |
| Steep slope (6:12 and above) | Either — based on budget and aesthetics | Both systems shed water effectively at steep slope; budget often decides |
| Re-roofing over existing metal | Exposed (often) or concealed over furring | Depends on existing deck condition and height constraints |
Frequently Asked Questions
Can you mix concealed and exposed fasteners on the same roof?
You can use different systems on different sections — for example, concealed panels on the main roof and exposed fastener panels on a lower-slope porch addition. What you cannot do is mix fastener methods within the same panel run. Each section must follow its own system’s installation specs entirely. Mixing methods within one continuous panel run voids manufacturer warranties and creates incompatible thermal movement behavior.
Do exposed fastener metal roofs always leak eventually?
Not inevitably — but they require active maintenance to prevent it. A properly installed exposed fastener roof with the right washer material, correct torque, and proactive washer replacement at 12–15 years can perform without leaks for 30 or more years. Neglecting washer maintenance is the primary reason exposed systems develop widespread leaking.
What causes oil-canning on metal roof panels?
Oil-canning is a visible waviness or ripple in flat panel sections. It is caused by residual stress in the coil steel, improper clip spacing, over-driven fasteners, or restrained thermal movement. It is primarily cosmetic and does not affect structural performance. Using narrower panels, choosing a ribbed or striated panel finish, or adjusting clip spacing can minimize it.
How many clips does a standing seam roof need per panel?
Clip spacing is determined by the manufacturer’s engineering data for your specific wind zone. Typical residential applications use clips every 12 to 24 inches on center along the panel length. In high-wind zones (ASCE 7 Wind Zone III and above), spacing often closes to 12 inches at eave and ridge zones and 18 to 24 inches in the field. Never estimate clip spacing — always reference the approved installation manual.
What is the difference between structural and architectural standing seam?
Structural standing seam panels span directly between purlins or framing members without a solid deck below. They carry load over open framing. Architectural standing seam requires a solid deck (plywood or OSB) for support. Structural systems are thicker — typically 22 to 24 gauge — and are used on commercial buildings. Architectural systems use 24 to 26 gauge panels and are standard for residential steep-slope applications.
Are self-drilling screws acceptable for metal roof panel attachment?
Yes — in exposed fastener systems, self-drilling screws are the standard fastener. They drill their own pilot hole and thread simultaneously. The key specification is the drill point class: Class 3 points drill through light-gauge steel (up to 3/16 inch), and Class 4 points handle heavier structural steel. Using the wrong drill point class causes screw spin-out, which strips the hole and defeats the washer seal. Always match the drill point class to your substrate thickness.