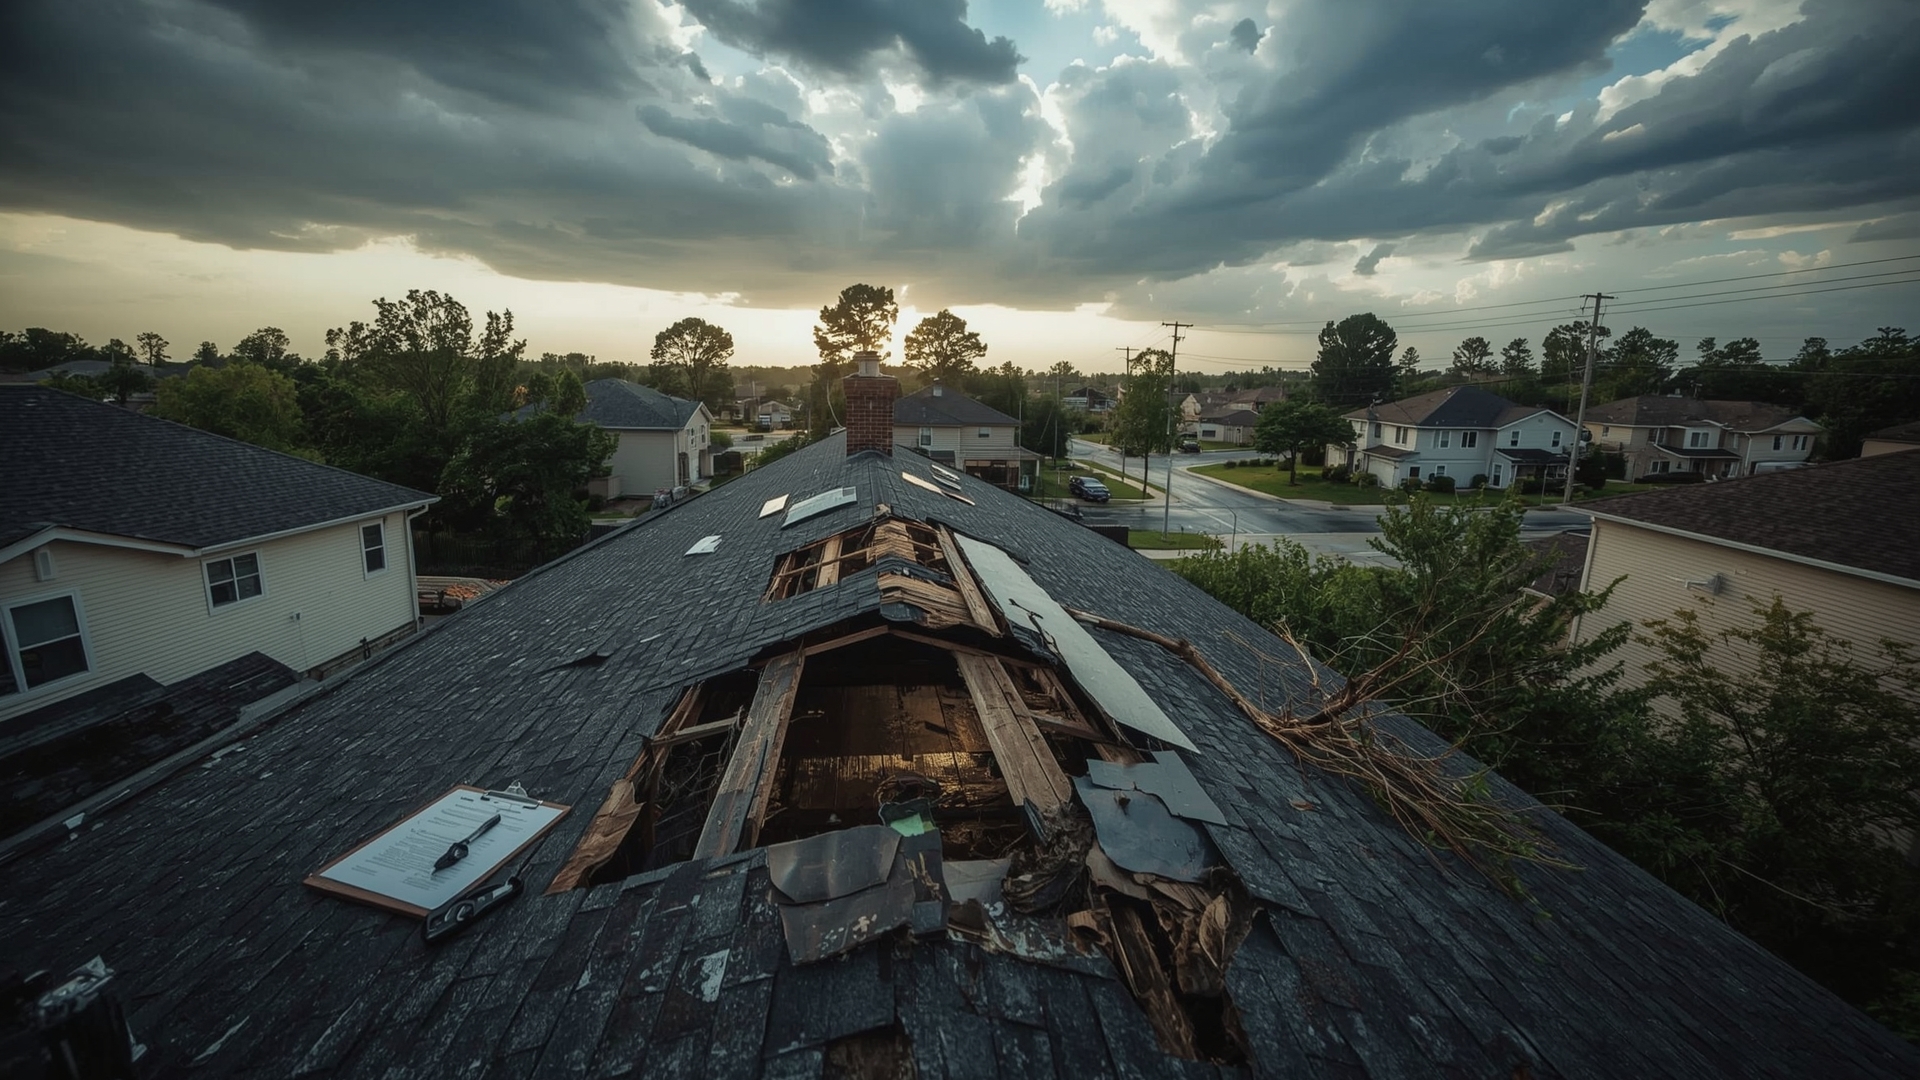
A storm tears through your neighborhood. The next morning, you find shingles in your yard and a water stain spreading across your ceiling. What you do in the next 48 hours can determine whether your insurance company pays in full or underpays your claim by thousands of dollars.
Filing a roof insurance claim is not just about calling your insurer. It’s about knowing the process, protecting your rights, and making sure every dollar of damage gets counted. This guide walks you through each step so you’re not left guessing.
Key Takeaways
- Document everything before touching anything. Photos and videos taken immediately after damage are your strongest evidence.
- ACV vs RCV payouts are very different. Actual Cash Value subtracts depreciation; Replacement Cost Value pays the full cost to replace your roof.
- Your adjuster’s estimate is not final. You have the right to dispute it and submit a supplemental claim with additional evidence.
- Temporary repairs protect your claim. Failing to stop active damage after a loss can give insurers grounds to reduce your payout.
- Assignment of Benefits (AOB) can cost you control. Signing an AOB transfers your claim rights to a contractor, which can create serious legal and financial problems.
- Timing matters. Most policies require you to report damage within a specific window, often 30 to 60 days after the event.
What Does Homeowners Insurance Actually Cover for Roof Damage?
Quick Answer: Most homeowners insurance policies cover sudden, accidental roof damage from storms, hail, wind, and falling objects. Gradual damage, neglect, and wear from age are almost always excluded. Coverage type and payout method vary by policy.
Standard homeowners insurance is designed to cover unexpected events, not routine maintenance failures. That distinction matters more than most homeowners realize when a claim gets denied.
Common Covered Causes of Roof Damage
- Hail impact
- Wind damage (typically above 60 mph, depending on your policy)
- Falling trees or branches
- Lightning strikes
- Ice dams (in some policies)
- Fire
What Is Typically Not Covered
- Age-related wear and deterioration
- Moss, algae, or mold buildup from lack of maintenance
- Pre-existing damage not disclosed at policy inception
- Flood damage (requires separate flood insurance)
- Earthquake damage (requires separate earthquake coverage)
If your roof is 15 years or older, some insurers will only offer ACV coverage, not full replacement cost. Check your declarations page before damage ever happens.
How Do You Document Roof Damage for an Insurance Claim?
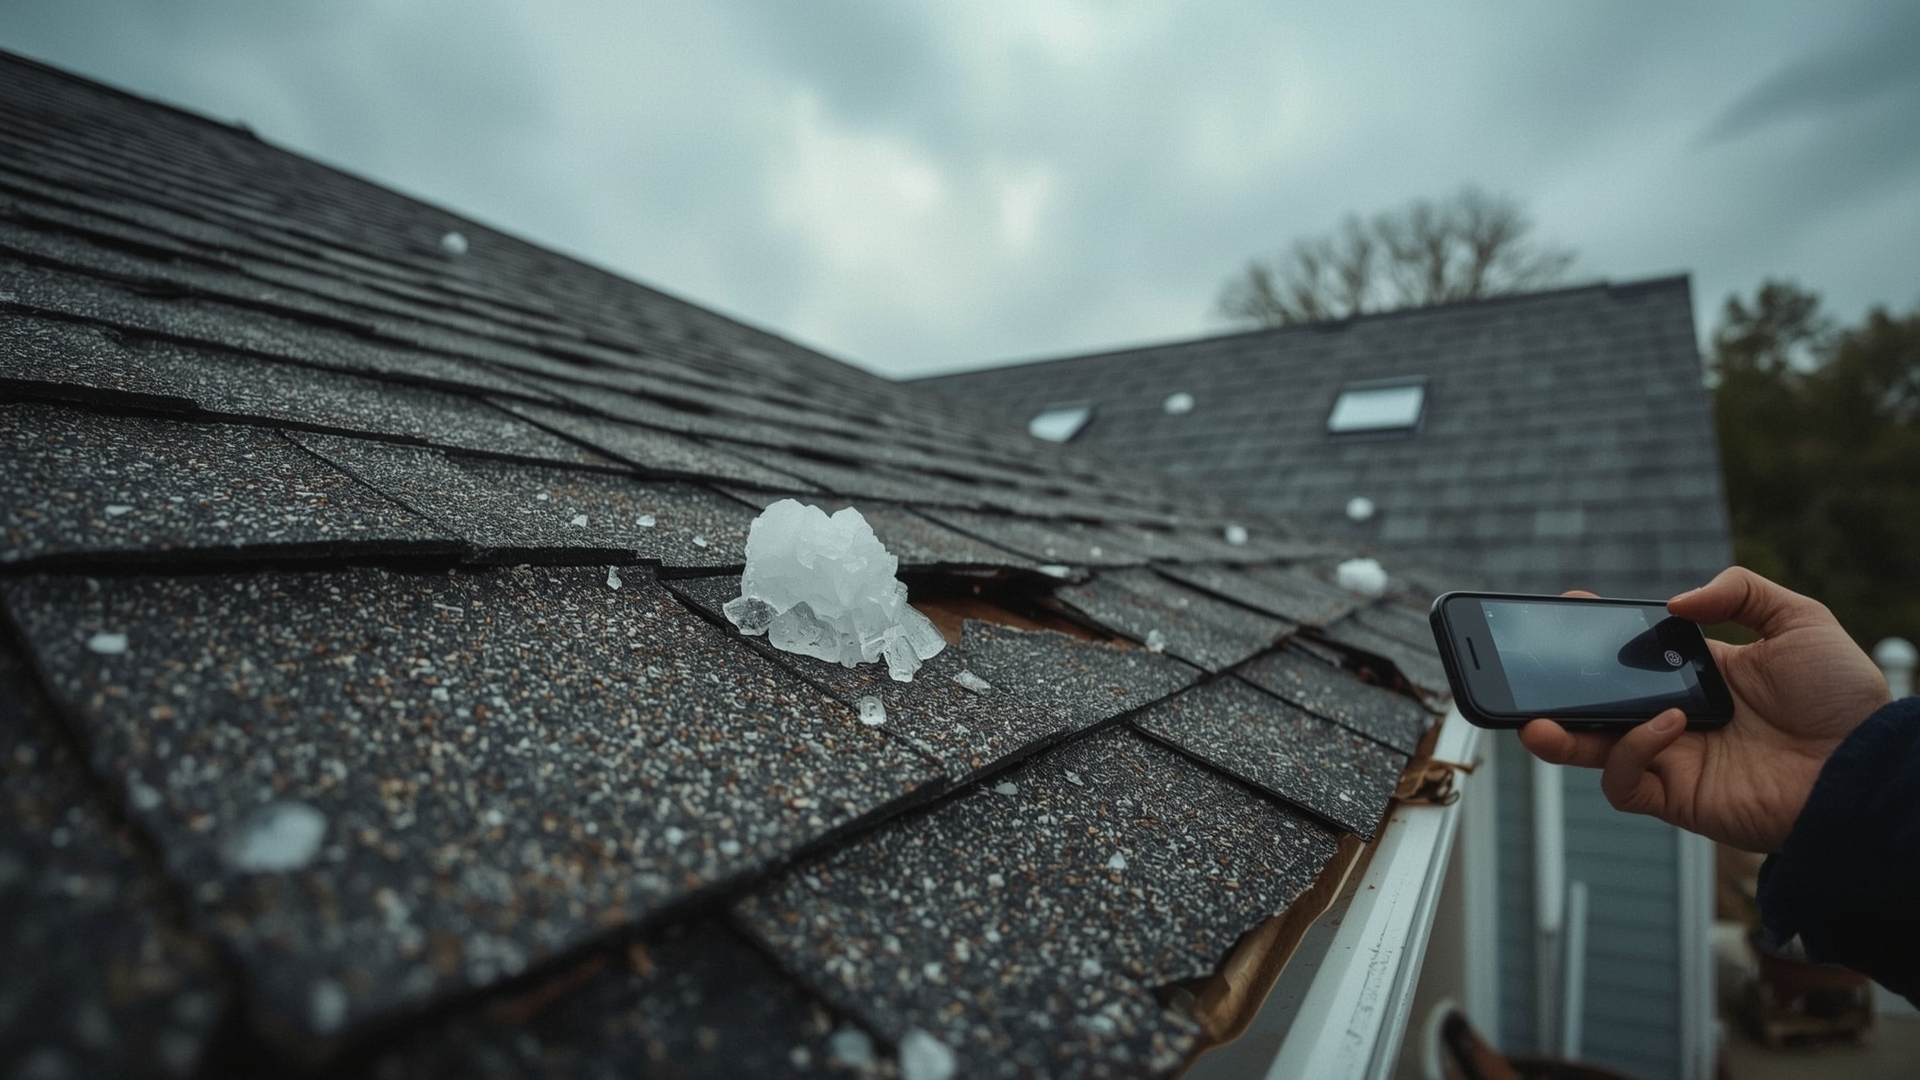
Quick Answer: Take timestamped photos and videos of all visible damage immediately after the storm. Capture wide shots, close-ups, and interior damage like water stains. Save all receipts for emergency repairs. Never discard damaged materials before the adjuster inspects them.
Documentation is the foundation of every successful claim. Adjusters evaluate what they can see and verify. The more organized and thorough your evidence, the harder it is to dispute or underpay your claim.
What to Photograph and Record
- Full views of the roof from multiple angles (use a drone app or safe ladder access)
- Close-up shots of each damaged shingle, vent, flashing, or gutter section
- Interior ceiling stains, wet insulation, or damaged drywall
- Damaged property nearby (fences, HVAC units, skylights)
- Storm event evidence: dented gutters, cracked window screens, neighbor damage
How to Organize Your Documentation
Create a folder on your phone or computer labeled with the storm date. Save all photos with timestamps intact. Write a short written description of what you observed and when. This creates a timeline that supports your claim and counters any argument that damage is pre-existing.
If your roof has prior inspection reports or a recent appraisal showing its condition before the storm, include those too. Before-and-after evidence is extremely powerful.
When Should You File a Roof Insurance Claim?
Quick Answer: File as soon as you identify storm-related damage, ideally within 24 to 72 hours of the event. Most policies require notice within 30 to 60 days of the loss date. Waiting too long can result in claim denial based on late reporting.
Speed matters for two reasons. First, your policy’s reporting window is a hard deadline in most cases. Second, the longer you wait, the harder it becomes to prove the damage was caused by the specific storm event you’re claiming.
Should You Always File a Claim?
Not necessarily. If repair costs are only slightly above your deductible, paying out of pocket may make more financial sense. Filing a claim increases the likelihood of a premium increase at renewal. Some insurers also track claim history and may non-renew policies with multiple claims in a short period.
Get a roofing contractor’s estimate before deciding to file. If the damage is $2,000 and your deductible is $1,500, the $500 payout is rarely worth the claim record.
What Are the Steps to Filing a Roof Insurance Claim?

Quick Answer: The process has six core steps: secure the property, document all damage, contact your insurer to open a claim, meet with the adjuster, review the estimate, and either accept or dispute the payout. Each step has decisions that affect your final settlement.
Step 1: Prevent Further Damage
Tarp any exposed areas. Board up broken skylights. Place buckets under active leaks and protect interior belongings. This is not optional. Your policy includes a “duty to mitigate” clause, meaning you are required to take reasonable steps to prevent additional damage after a covered loss. Failing to do so gives your insurer grounds to reduce your payout.
Keep all receipts for tarps, materials, and emergency labor. These costs are typically reimbursable under your policy’s coverage for reasonable temporary repairs.
Step 2: Contact Your Insurance Company
Call the claims line or file online through your insurer’s portal. Have your policy number ready. Report the date of the event, the type of damage, and whether any temporary repairs have already been made. Ask for a claim number and the name of your assigned adjuster before hanging up.
Step 3: Get a Contractor Estimate First
Before the adjuster arrives, have a licensed roofing contractor inspect the damage and provide a written estimate. This gives you an independent benchmark. If the adjuster’s number comes in significantly lower, you have a professional estimate ready to use as the basis for a dispute.
Step 4: Meet with the Insurance Adjuster
Be present for the adjuster’s inspection. Walk the roof with them if safely possible. Point out every item you documented. Adjusters are professionals, but they’re also working under time pressure and may miss items that your contractor already flagged. Politely make sure nothing gets overlooked.
Step 5: Review the Claim Estimate Carefully
Your insurer will send a written estimate called a “loss summary” or “scope of loss.” Review every line item. Compare it to your contractor’s estimate. Look for missing line items, incorrect pricing, or items that were listed as “excluded” that you believe should be covered.
Step 6: Accept or Dispute the Settlement
If the estimate is fair and complete, accept it and proceed with your contractor. If it’s significantly lower than your contractor’s estimate, you have the right to dispute it. The next section covers how to do that effectively.
What Is the Difference Between ACV and RCV Roof Payouts?
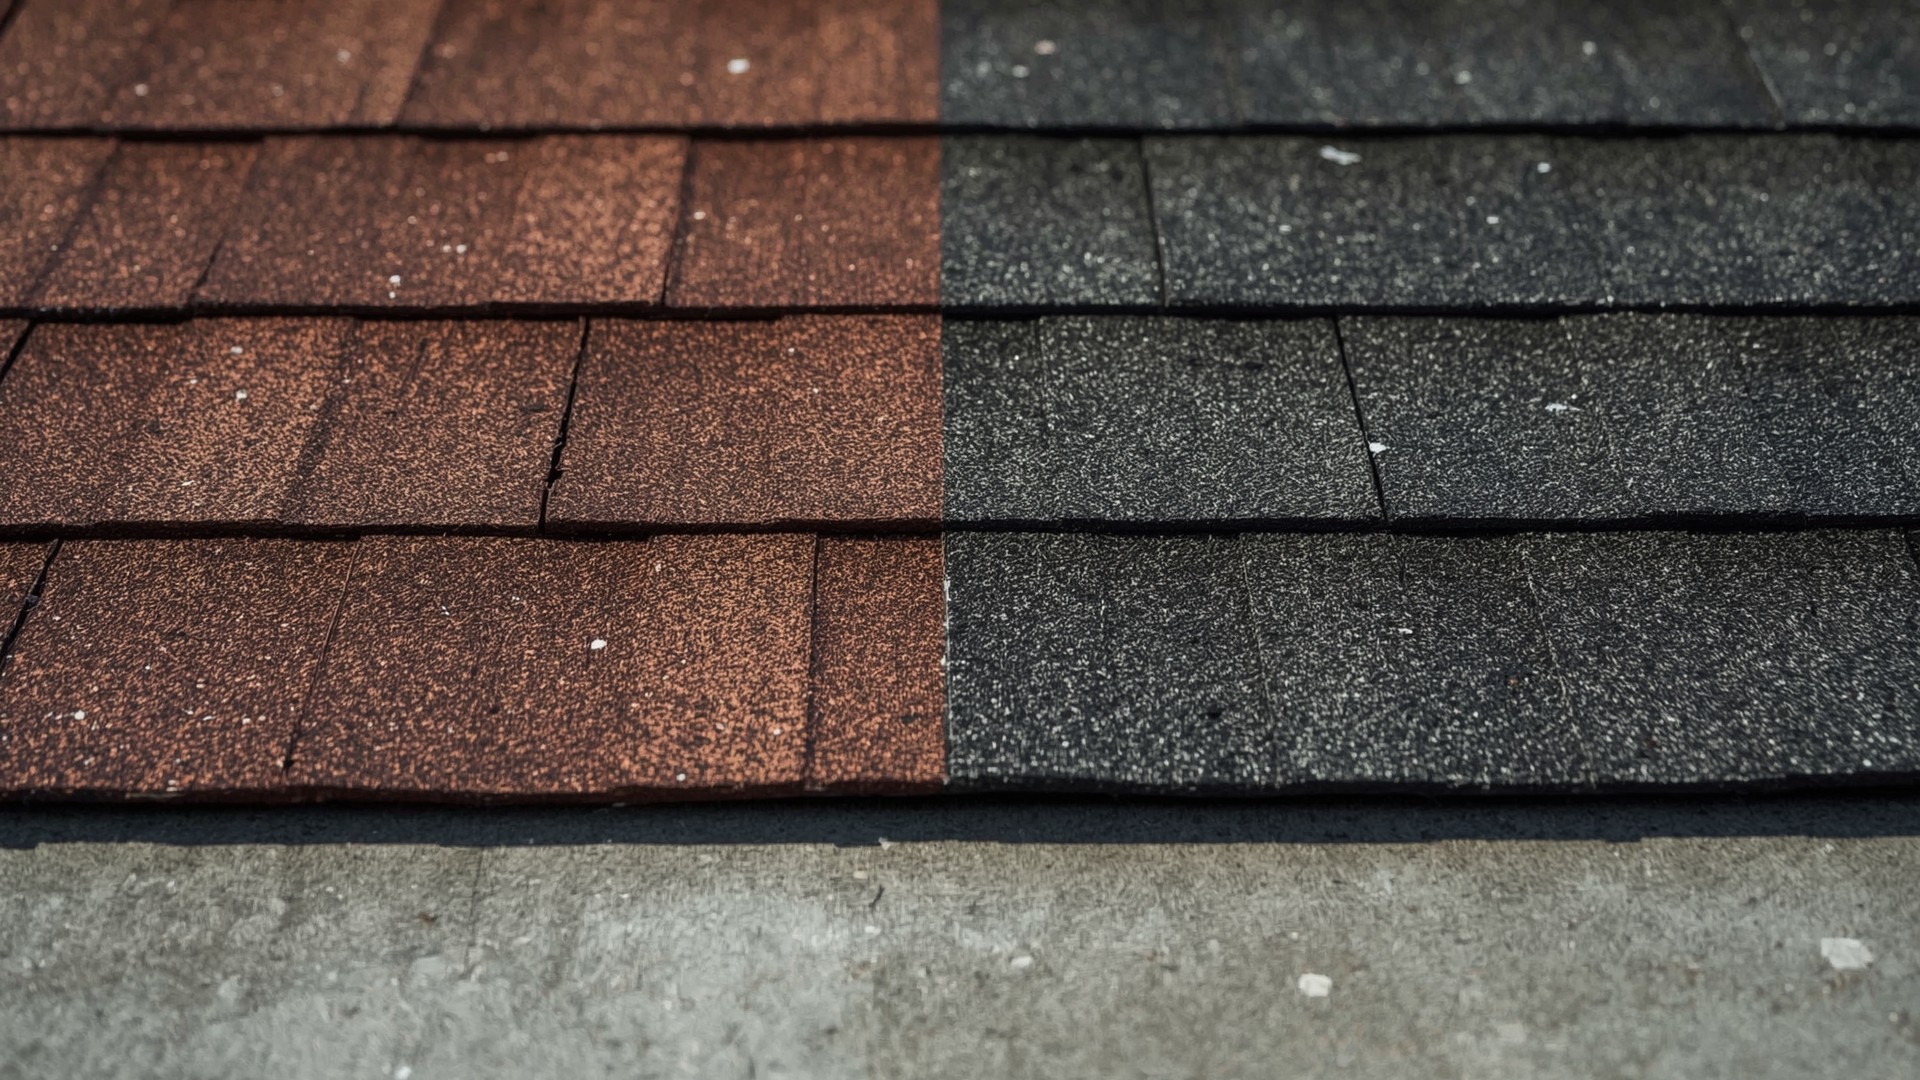
Quick Answer: ACV (Actual Cash Value) pays you the depreciated value of your damaged roof. RCV (Replacement Cost Value) pays the full cost to replace it with a comparable new roof. The gap between these two numbers can be thousands of dollars on an older roof.
This is the single most misunderstood part of roof insurance claims. Many homeowners assume they’re getting a full replacement check. What they get instead is a payment that reflects the current market value of their old, worn roof.
ACV vs RCV: Key Differences
| Attribute | ACV (Actual Cash Value) | RCV (Replacement Cost Value) |
|---|---|---|
| Depreciation Applied | Yes — reduces payout by age and condition | No — pays full replacement cost |
| Initial Payment | Full ACV amount minus deductible | ACV amount minus deductible (first check) |
| Recoverable Depreciation | No | Yes — paid after repairs are completed |
| Best For | Newer roofs, lower premiums | Older roofs, higher premiums |
| Typical Premium Difference | Lower by 15%–30% | Higher by 15%–30% |
| Out-of-Pocket Risk | Higher if roof is old | Lower — depreciation is recovered |
How Recoverable Depreciation Works with RCV Policies
With an RCV policy, your insurer sends two payments. The first check covers the ACV of your roof (replacement cost minus depreciation). Once you complete the repairs and submit proof, they release the second payment for the depreciation amount withheld. This second payment is called the “recoverable depreciation” or “holdback.”
If you never complete the repairs, you never receive the second check. That’s why it’s critical to actually replace the roof rather than pocket the initial payout and patch the damage yourself.
How Do You Supplement a Roof Insurance Claim?
Quick Answer: A supplemental claim adds costs that were missed or undervalued in the original adjuster estimate. Common supplements include code upgrades, proper disposal fees, additional damaged materials, and labor costs that reflect current market rates rather than outdated pricing.
Supplements are not fraud. They are a standard, legitimate part of the claims process. Material costs change. Adjusters use estimating software that may lag real-world pricing by months. Labor shortages push hourly rates higher. All of these can create a gap between the insurer’s estimate and what it actually costs to fix your roof correctly.
Common Line Items That Get Missed in Initial Estimates
- Code upgrade costs: If local building codes require upgraded underlayment, decking thickness, or ventilation as part of any roof replacement, those costs should be covered under a code compliance clause.
- Starter strips and ridge caps: Often omitted from adjuster estimates but required for a proper installation.
- Pipe boot replacements: Rubber pipe boots around plumbing vents are routinely skipped.
- Dumpster or haul-away fees: Disposal of old roofing materials has a real cost that gets underestimated.
- Steep slope or height charges: Safety equipment and additional labor on steep roofs is a legitimate cost.
How to Submit a Supplement
Your roofing contractor typically handles the supplementing process. They submit a revised scope of work with documentation that supports each additional line item. Most insurers use Xactimate estimating software, so contractors familiar with that platform can write estimates in a format adjusters immediately recognize.
Supplements can be submitted multiple times throughout the claim. If additional damage is discovered during the repair process (rotted decking, for example), a new supplement can be filed for those costs.
What Is Assignment of Benefits and Why Should You Be Careful?
Quick Answer: Assignment of Benefits (AOB) is a legal document that transfers your insurance claim rights to a contractor. Once signed, the contractor deals directly with the insurer and you lose control over the settlement. AOB abuse has led to inflated claims and legal disputes in many states.
AOB sounds convenient on the surface. The contractor handles the paperwork, fights the insurer, and you don’t deal with the hassle. But there are significant risks that come with signing one.
Risks of Signing an AOB Agreement
- You lose the right to make decisions about your own claim
- If the contractor and insurer disagree, litigation can drag on for months or years while your roof remains unrepaired
- Some contractors inflate claims after signing an AOB, creating legal and fraud liability that can come back to you
- Your policy may be voided or modified if AOB conflicts with its terms
- You may still be responsible for unpaid amounts if the contractor’s claim is reduced
What to Do Instead of Signing an AOB
Work directly with your insurer. If you need help managing the claim, hire a licensed public adjuster instead. A public adjuster represents your interests, not the contractor’s. They charge a percentage of the settlement (typically 10%–15%) but do not take legal control of your claim.
How Do You Work Effectively with a Roof Insurance Adjuster?
Quick Answer: Be present, be organized, and be professional. Walk the adjuster through your documented damage point by point. Have your contractor’s estimate available for comparison. Ask the adjuster to explain any items they exclude and request a written copy of their findings before they leave your property.
Adjusters see dozens of claims each week. Being prepared and organized signals that you are a serious claimant who is paying attention. This alone can influence how thorough their inspection becomes.
Questions to Ask Your Adjuster During Inspection
- What is the storm date being used for this claim?
- Are any items being excluded from coverage, and why?
- Is my policy ACV or RCV for roofing?
- What is my depreciation holdback amount?
- How do I submit a supplement if additional damage is found during repairs?
- What is the deadline for completing repairs and recovering depreciation?
When to Request a Reinspection or Hire a Public Adjuster
If the adjuster’s estimate is far below your contractor’s written bid and you can’t resolve the difference through a supplement, request a reinspection. If that fails, consider hiring a public adjuster or consulting a property attorney. Many states allow you to invoke an appraisal clause in your policy, which brings in a neutral third-party appraiser to resolve the dispute.
What Are the Most Common Reasons Roof Insurance Claims Get Denied?
Quick Answer: The most common denial reasons are late reporting, pre-existing damage, lack of maintenance, policy exclusions for the cause of loss, and expired coverage for older roofs. Understanding these pitfalls helps you avoid them before and after a storm.
| Denial Reason | How It Happens | How to Avoid It |
|---|---|---|
| Late Reporting | Claim filed outside the policy’s reporting window | Report damage within 48–72 hours of the event |
| Pre-Existing Damage | Insurer claims damage was present before the storm | Keep dated inspection reports showing prior roof condition |
| Lack of Maintenance | Granule loss, cracked caulk, or lifted flashing attributed to neglect | Annual roof maintenance records protect you |
| Excluded Cause of Loss | Flooding, earthquake, or gradual seepage not covered | Know your policy exclusions before filing |
| Policy Lapse or Nonpayment | Coverage lapsed before the storm date | Set automatic premium payments |
| ACV Policy on Old Roof | Insurer deems aged roof ineligible for RCV | Request RCV endorsement or replace roof before policy renewal |
What Should You Look for When Choosing a Roofing Contractor for an Insurance Claim?
Quick Answer: Choose a licensed, insured contractor with documented experience in insurance claim work, familiarity with Xactimate estimating software, and verifiable local references. Avoid storm chasers who pressure you to sign before you’ve reviewed the adjuster’s estimate.
After a major storm, unlicensed contractors flood affected neighborhoods. They often make big promises about “free roofs” or “we’ll waive your deductible.” Both are red flags and often illegal under state insurance laws.
Contractor Red Flags in Storm Damage Claims
- Asking you to sign an AOB before the adjuster has inspected
- Promising to waive or cover your deductible (this is insurance fraud in most states)
- No local address, no license number, no verifiable reviews
- Demanding full payment before work begins
- Unable to provide a line-item written estimate
Roofing Contractor Selection Criteria for Insurance Claims
| Criteria | What to Look For | Why It Matters |
|---|---|---|
| Licensing | State roofing contractor license, verifiable online | Required for permits; protects you legally |
| Insurance | General liability ($1M+) and workers’ comp | Protects you from liability if a worker is injured |
| Xactimate Experience | Can produce or read line-item Xactimate estimates | Ensures supplements align with adjuster’s format |
| Local Presence | Physical address, local reviews, 3+ years in area | Warranty claims require contractor to be reachable |
| Manufacturer Certification | GAF Master Elite, Owens Corning Preferred, or equivalent | Unlocks enhanced warranty coverage on new roof |
How Long Does a Roof Insurance Claim Take to Settle?
Quick Answer: A straightforward roof claim typically settles in 2 to 6 weeks from the date of filing. Complex claims involving supplements, disputes, or appraisal processes can take 3 to 6 months. Most states require insurers to acknowledge a claim within 10 to 15 business days of filing.
After a major storm event that affects an entire region, adjuster capacity gets stretched thin. Expect longer timelines during catastrophic loss events. If your insurer isn’t responding within your state’s required acknowledgment period, you can file a complaint with your state’s Department of Insurance.
Roof Insurance Claim Timeline Overview
| Stage | Typical Timeframe | What Happens |
|---|---|---|
| Claim Filing | Day 1–2 after damage | You report the loss; claim number assigned |
| Adjuster Inspection | Days 5–14 | Adjuster inspects damage and writes estimate |
| Initial Payment Issued | Days 14–21 | ACV or initial RCV check sent |
| Supplement Review | 2–6 weeks after submission | Insurer reviews contractor’s supplemental scope |
| Final Payment (RCV Holdback) | After repairs are completed and proof submitted | Recoverable depreciation released |
| Disputed Claims | 3–6 months (or longer) | Appraisal, reinspection, or litigation process |
Frequently Asked Questions
Can your insurer cancel your policy after a roof claim?
Yes, insurers can non-renew your policy at the end of a policy term, especially after multiple claims. They generally cannot cancel mid-term unless there are fraud allegations or premium nonpayment. Check your state’s regulations, as non-renewal rules vary significantly by state.
Does your deductible apply to every roof insurance claim?
Yes. Your deductible is subtracted from every claim payment, regardless of claim size. Some policies carry a separate wind or hail deductible that is calculated as a percentage of your home’s insured value, not a flat dollar amount. A 2% wind deductible on a $400,000 home means you pay $8,000 before coverage applies.
Can you file a roof insurance claim for old hail damage?
It depends on your policy’s reporting requirements. Most policies require you to report damage within 30 to 60 days of the event. Some state regulations extend that window. If you discover hail damage years after a storm, coverage is usually denied based on late reporting and the difficulty of proving the exact storm that caused it.
What is a public adjuster and when should you hire one?
A public adjuster is a licensed professional who represents you, not your insurance company, during a claim. They assess damage, prepare documentation, and negotiate your settlement. Hiring one makes the most sense when your claim is large, complex, or has already been underpaid by your insurer’s adjuster.
What happens if your mortgage lender is listed on the insurance check?
When a mortgage is on your home, your lender is named as a co-payee on insurance claim checks. You’ll need to endorse the check and send it to your lender for countersignature. Most lenders then release funds in draws tied to repair milestones. Contact your lender’s loss draft department as soon as you receive the check to understand their specific process.
Is roof replacement always required after a claim, or can you repair instead?
It depends on the extent of the damage and your insurer’s assessment. If the adjuster determines the roof can be effectively repaired, they will pay for repairs only, not a full replacement. Your contractor and a public adjuster can challenge that determination with supporting documentation if they believe replacement is the appropriate remedy based on damage severity.