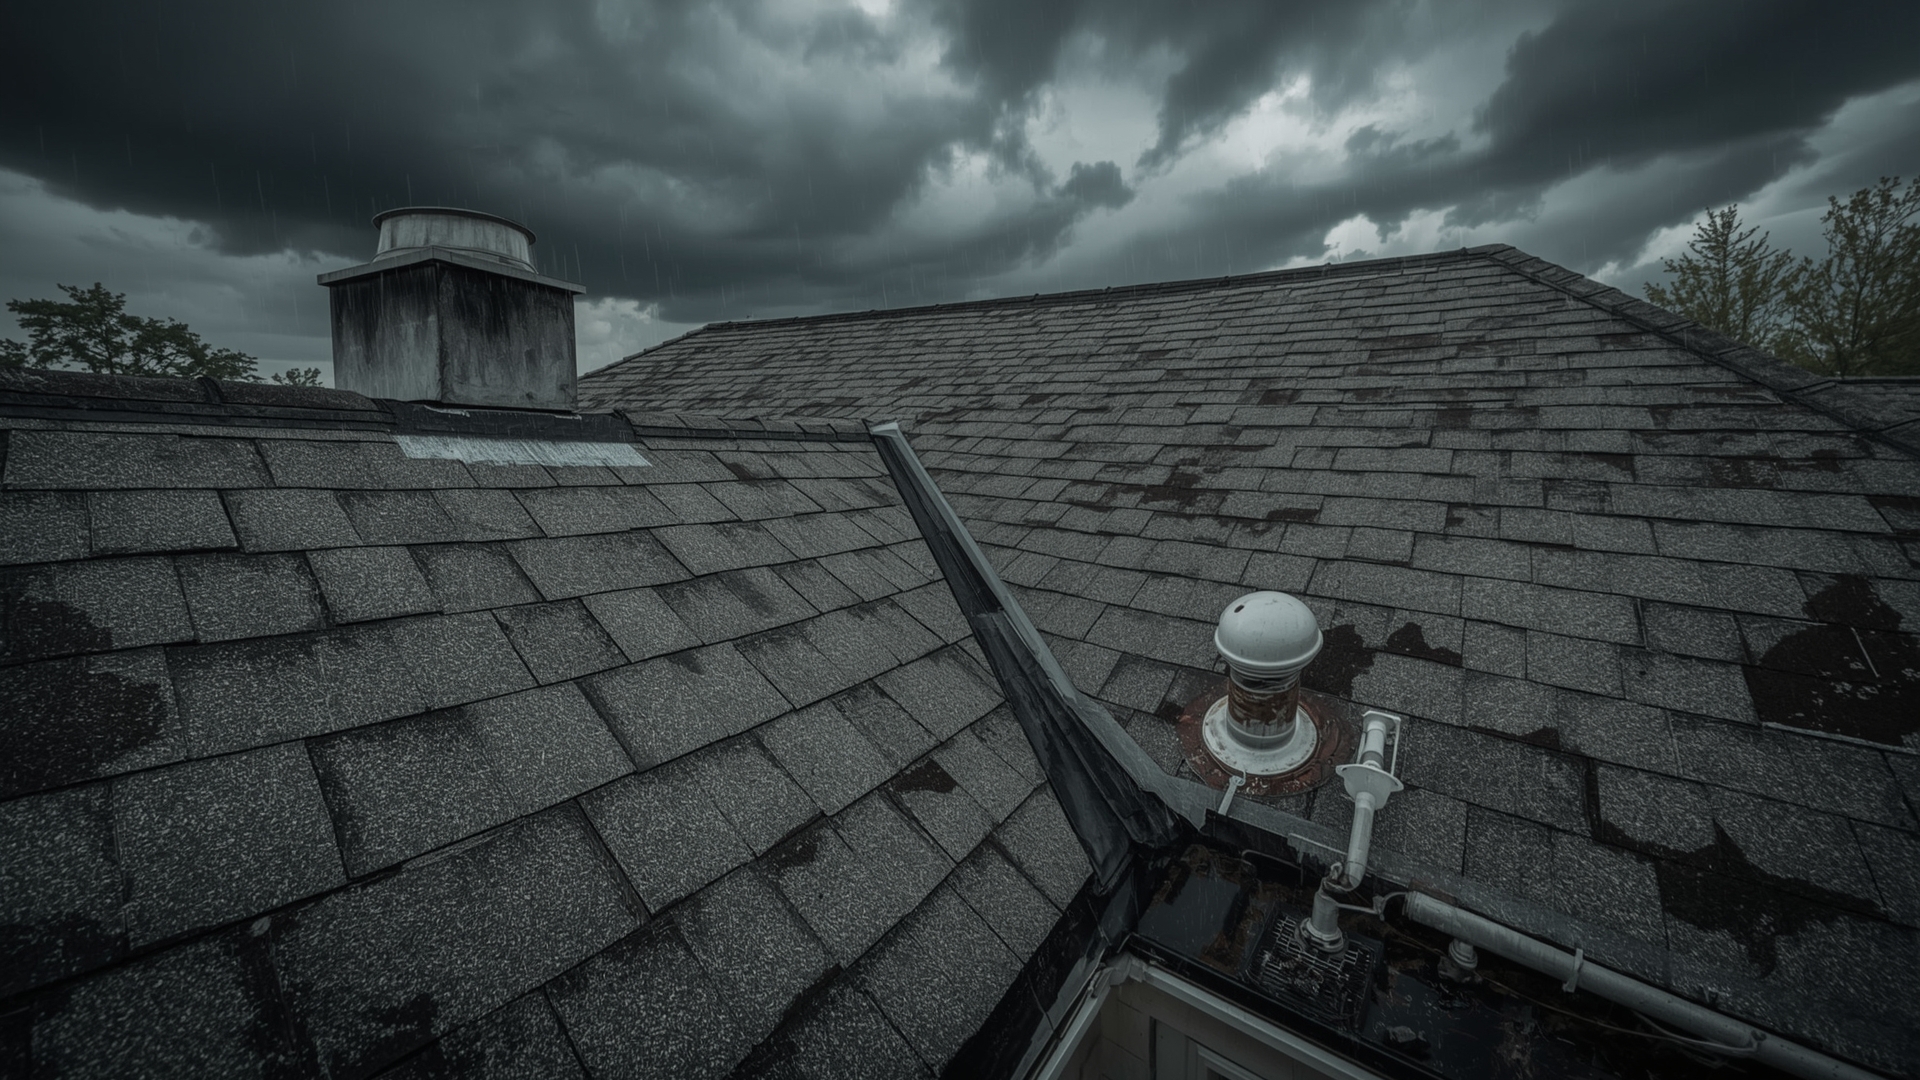
A roof leak rarely announces itself early. By the time you see a water stain on your ceiling, water has usually been traveling through your roof system for weeks. The damage you can see is almost always smaller than the damage you can’t.
This guide walks you through every stage: finding where the leak is actually coming from, stopping it temporarily so the damage doesn’t spread, and fixing it the right way so it doesn’t come back.
Key Takeaways
- Water stains on ceilings rarely mark the true leak source — water travels along rafters and sheathing before dripping down.
- Most leaks originate at penetrations and flashing, not in the middle of intact shingles.
- Temporary patches buy you time but are not a substitute for a permanent repair.
- Active leaks cause fast compounding damage — mold can begin growing within 24 to 48 hours of water intrusion.
- DIY repairs are realistic for minor issues like cracked caulk, a missing shingle, or a loose pipe boot seal.
- A licensed roofer should handle flashing replacement, valley repairs, and anything involving structural decking.
How Do You Find Where a Roof Leak Is Coming From?
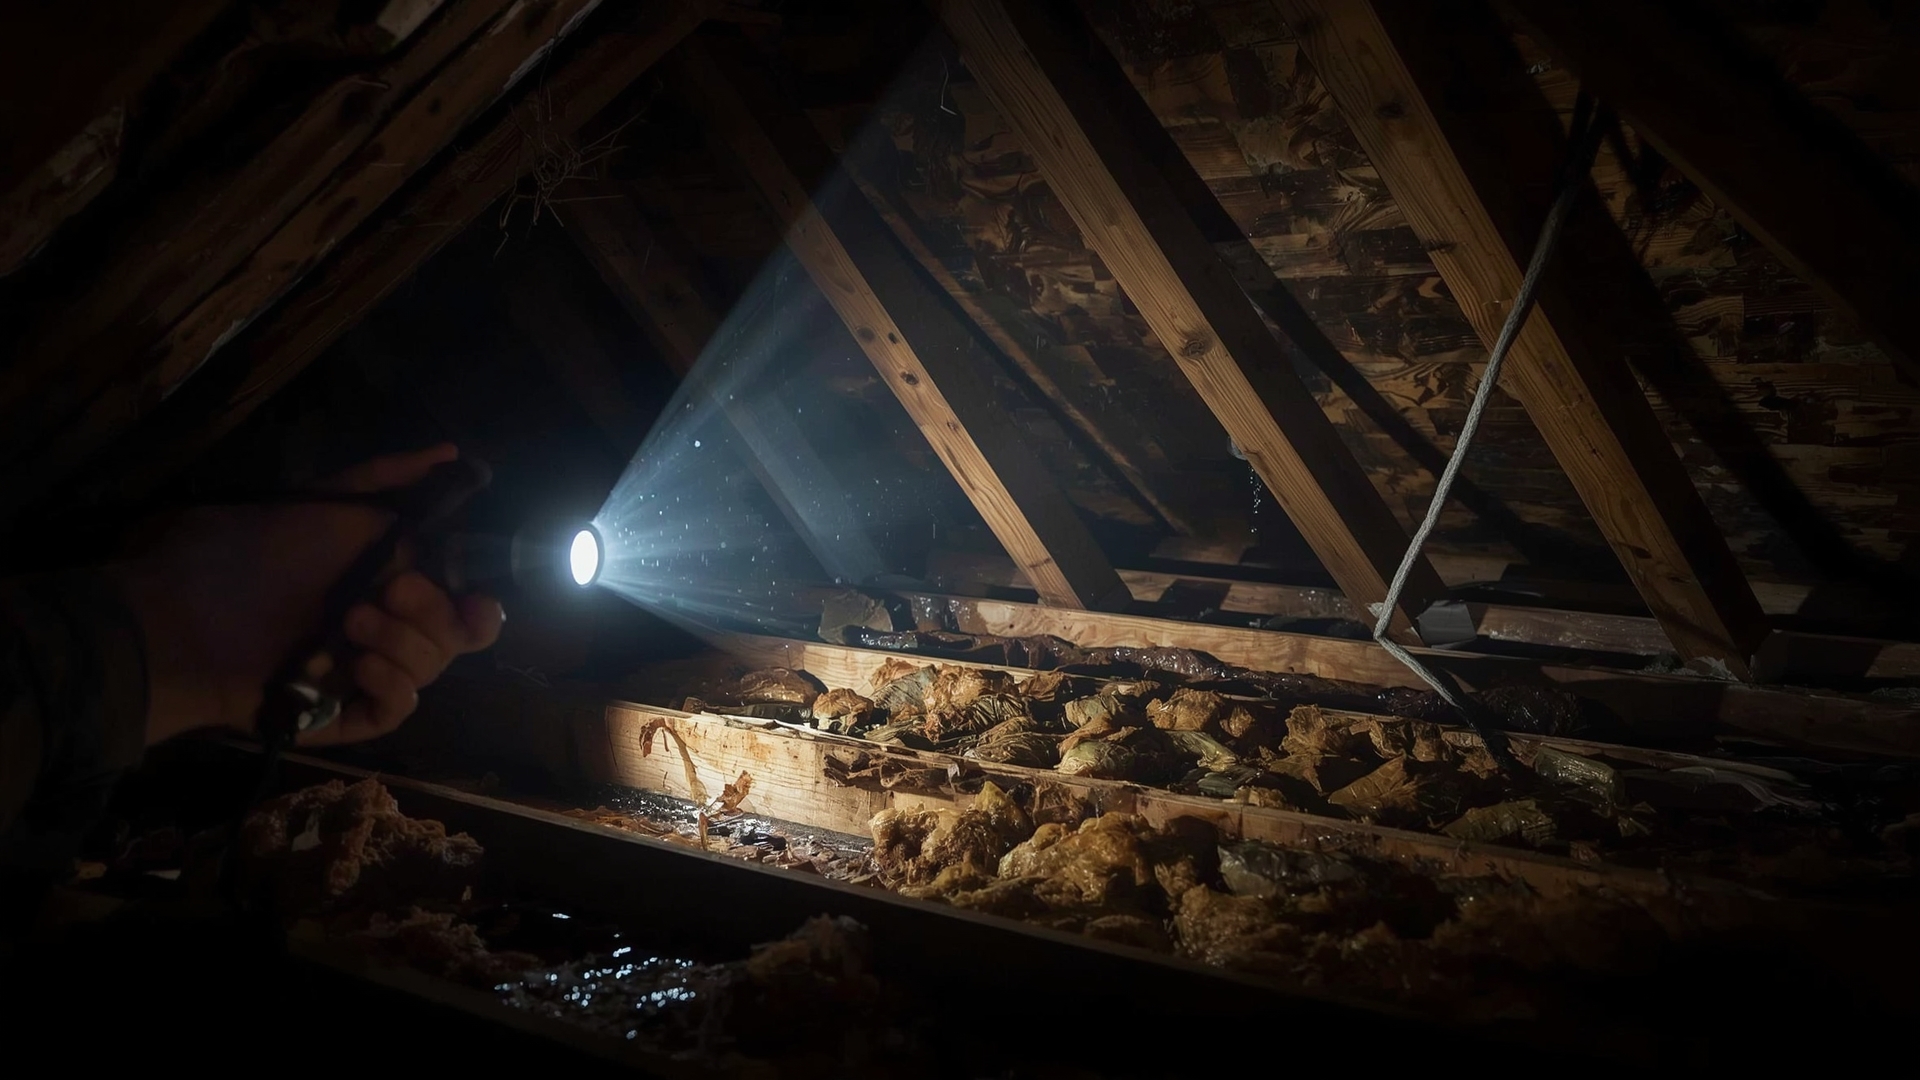
Quick Answer: Start inside the attic with a flashlight. Look for water stains, daylight coming through the decking, or damp insulation. Trace any stain uphill from where it drips, since water travels along rafters before falling.
Start Inside the Attic, Not on the Roof
The attic gives you the clearest picture of where water is entering. Go up during or right after rain with a bright flashlight. Look for dark staining on the wood decking, wet insulation batts, or any spot where you can see light coming through from outside.
Mark the spot with chalk or a nail so you can locate it from outside. Water almost always enters higher on the roof than where it shows up on your ceiling, so always trace the stain upward toward the ridge.
Common Leak Source Locations
Leaks concentrate around specific weak points in the roof system. Flat, uninterrupted shingle fields rarely leak unless the shingles are severely aged or damaged.
- Pipe boots and vent flashings — the rubber collar around plumbing vents cracks and shrinks over time
- Step flashing and counter flashing — metal strips where the roof meets a wall or chimney can pull away or corrode
- Valley flashing — the channel where two roof planes meet is a high-water-flow area prone to wear
- Skylights — seal failure around the frame or curb is a frequent source
- Ridge caps and hip caps — lifted or cracked cap shingles expose the ridge board underneath
- Gutters and ice dams — backed-up water forces moisture under shingles at the eaves
The Garden Hose Test
If you can’t find the source after checking the attic, have a helper stay inside while you run a garden hose on the roof. Start low and work upward, section by section. Soak each area for two to three minutes before moving up. When your helper calls out water intrusion, you’ve found the zone.
This method takes patience but is reliable for locating stubborn leaks that only appear during heavy rain.
What Damage Can a Roof Leak Cause If Left Untreated?
Quick Answer: Untreated leaks damage roof decking, insulation, drywall, and framing. Mold growth can start within 24 to 48 hours. Long-term water intrusion leads to rotted sheathing and structural repairs that cost far more than the original leak fix.
How Leak Damage Compounds Over Time
A small drip feels like a minor problem. But water is persistent. It saturates insulation, which loses its thermal value and stays wet for weeks. Wet insulation presses against wood framing, and that wood begins to soften and decay.
Drywall absorbs moisture and becomes a surface for mold colonies. Once mold takes hold in wall cavities or attic insulation, remediation costs climb fast and independently of the roofing repair itself.
| Timeframe | Typical Damage | Estimated Repair Cost Range |
|---|---|---|
| 1 to 7 days | Wet insulation, ceiling staining | $200 to $800 |
| 1 to 4 weeks | Mold begins, drywall damage, decking softening | $1,000 to $4,000 |
| 1 to 6 months | Rotted sheathing, mold remediation, framing repair | $4,000 to $15,000+ |
| Over 6 months | Structural decking replacement, possible rafter damage | $10,000 to $30,000+ |
How Do You Temporarily Stop a Roof Leak From the Inside?
Quick Answer: Place buckets to catch dripping water and lay plastic sheeting to protect flooring. Use roofing tape or a piece of plywood to deflect water in the attic. These steps minimize interior damage until a permanent repair can be made.
Interior Emergency Steps
If water is actively dripping through the ceiling, puncture the center of the bulge with a screwdriver. This sounds counterintuitive, but it drains the pooled water in a controlled stream instead of letting the ceiling collapse under the weight.
Place buckets and lay down plastic sheeting or old towels. Move furniture and valuables away from the affected area. Document everything with photos and video before cleanup — you’ll want this for an insurance claim.
Attic Temporary Patch Options
From inside the attic, you can slow a leak significantly with the right materials. This buys time for a proper fix without requiring you to get on the roof in wet or dangerous conditions.
- Roofing tape (butyl or rubberized flashing tape): press firmly over the damp area after drying the surface as much as possible
- Plywood deflector: prop a piece of plywood against a rafter at an angle to redirect water into a bucket
- Roofing cement: applied with a putty knife to cracks or gaps visible from the underside of the decking
How Do You Temporarily Patch a Roof Leak From the Outside?
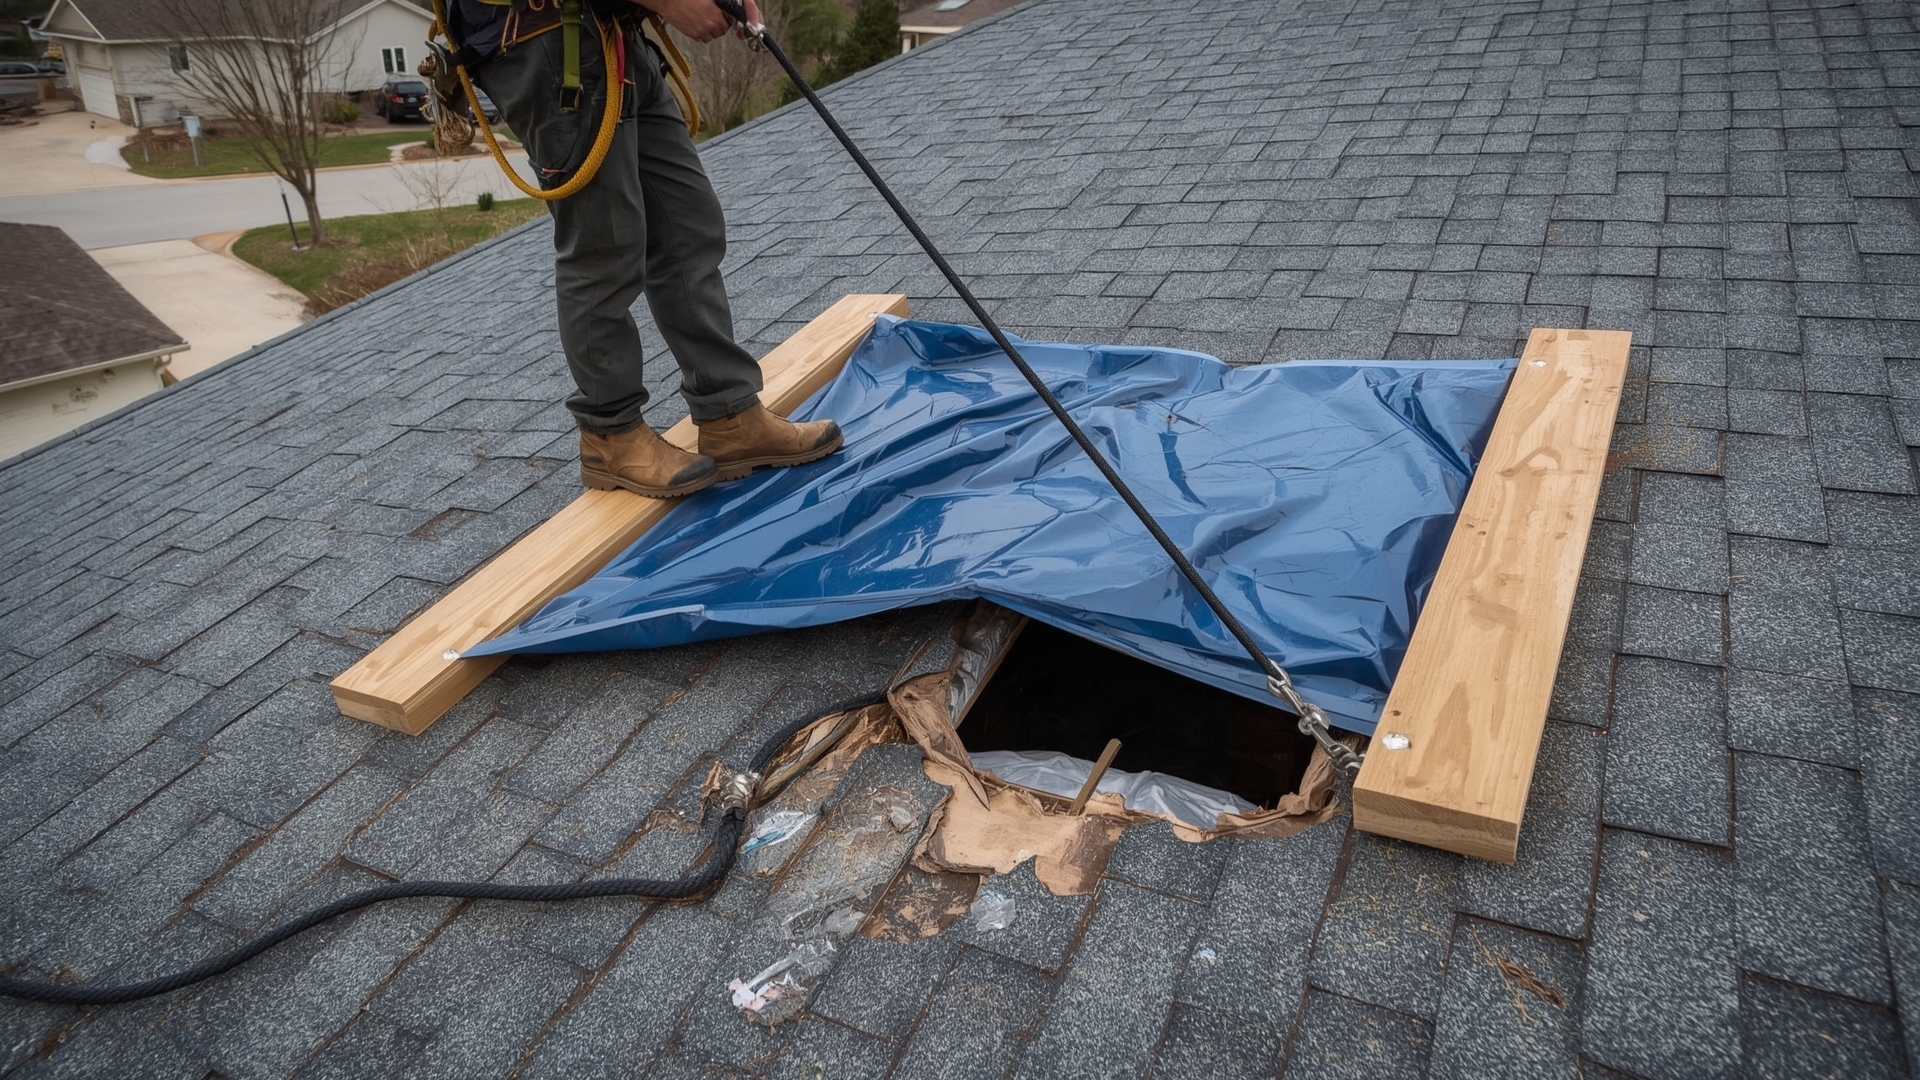
Quick Answer: A polyethylene tarp secured over the leak area is the most effective temporary exterior patch. Use roofing nails and 2×4 boards to hold the tarp down. Never work on a wet roof — wait for dry conditions and use proper fall protection.
Tarp Installation for Emergency Roof Coverage
A 6-mil polyethylene tarp can cover a damaged roof section until a contractor arrives. The tarp needs to extend from the ridge down past the eaves on the damaged side, with at least two feet of overhang on each side of the damaged zone.
Sandwich the edges of the tarp between 2×4 boards and screw them together. This creates a weighted edge that resists wind lift without punching additional nail holes into intact shingles. Never use nails alone — wind will peel the tarp back and cause more damage.
Roof Safety Basics Before You Climb Up
Falls from roofs cause serious injuries every year. If you’re not comfortable with heights or your roof pitch is steeper than 6:12 (meaning it rises 6 inches for every 12 inches of horizontal run), call a professional for even a temporary patch.
- Use a sturdy extension ladder rated for your weight plus tools
- Wear rubber-soled shoes with grip — not sneakers
- Never work on a wet, icy, or frost-covered roof
- Use a safety harness and anchor it to a ridge anchor if working on steep slopes
- Have a second person on the ground
What Are the Most Common Roof Leak Repairs and How Are They Done?
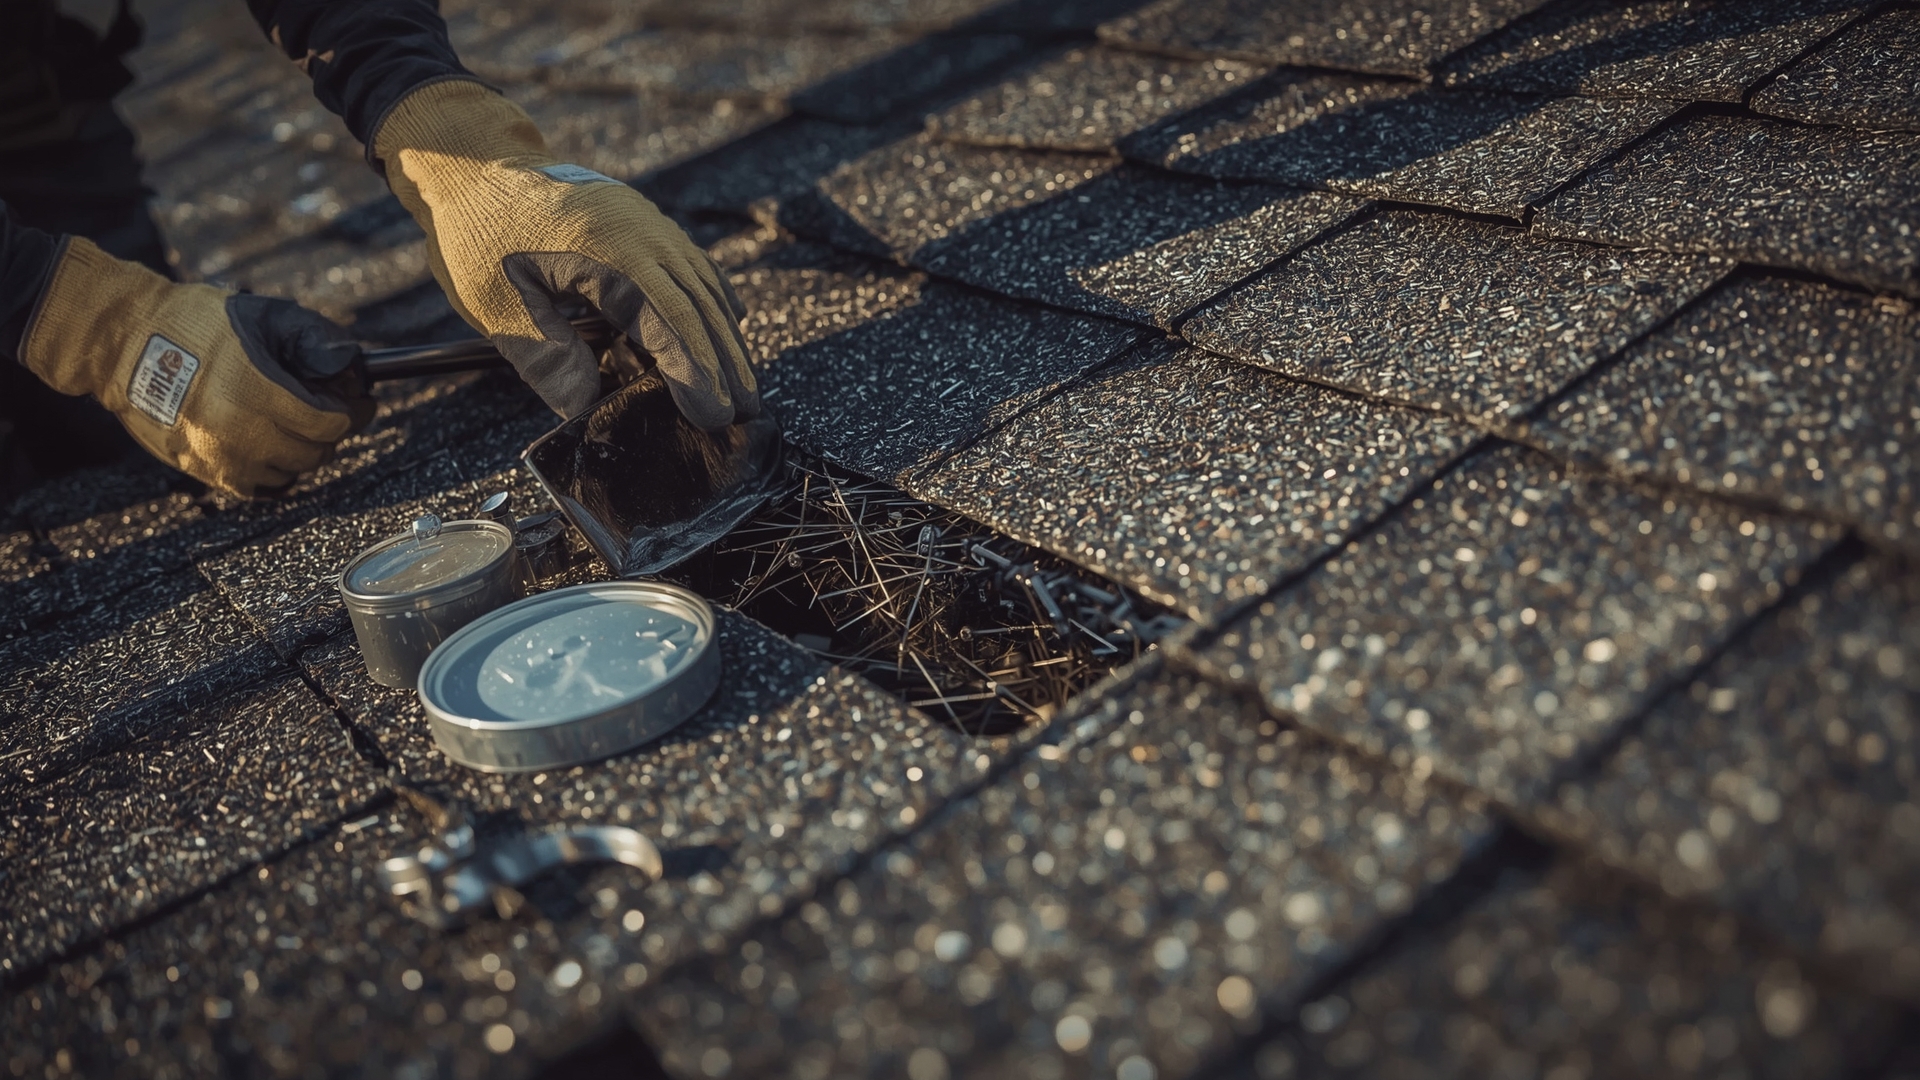
Quick Answer: The most common repairs are replacing a cracked pipe boot seal, re-sealing or replacing step flashing, fixing or replacing damaged shingles, and resealing skylight frames. Each repair targets a specific failure point rather than patching the entire roof.
| Leak Source | Repair Method | DIY Difficulty | Professional Cost Range |
|---|---|---|---|
| Cracked pipe boot seal | Replace rubber boot collar or apply lap sealant | Moderate | $150 to $400 |
| Damaged or missing shingle | Remove fasteners, slide out old shingle, nail in replacement | Moderate | $200 to $600 |
| Deteriorated step flashing | Remove siding, replace flashing sections, reseal | Difficult | $500 to $1,500 |
| Valley flashing failure | Remove shingles, install new valley flashing, reshingle | Very Difficult | $800 to $2,500 |
| Skylight seal failure | Remove trim, apply new flashing tape and sealant, reseal curb | Difficult | $400 to $900 |
| Chimney flashing failure | Re-tuck mortar joints, replace counter flashing, reseal | Very Difficult | $600 to $2,000 |
How to Replace a Damaged Shingle
Start by lifting the edges of the shingles directly above the damaged one. Most asphalt shingles are held by four roofing nails. Use a flat pry bar to remove those nails without cracking the surrounding shingles.
Slide the damaged shingle straight out. Slide the replacement shingle into position, aligning it with the ones on either side. Nail it with four roofing nails, then apply a dab of roofing cement under the overlapping shingle edges to seal the nail heads.
How to Fix a Cracked Pipe Boot
A pipe boot is the rubber collar that seals around a plumbing vent pipe where it exits the roof. The rubber degrades over time and cracks, creating a direct path for water.
You have two options: apply a compatible lap sealant into the cracks as a short-term fix, or replace the entire boot. Replacement is better long-term. Slide the new boot down over the pipe, tuck the base flange under the upper shingles, and nail the lower flange down. Seal the nail heads with roofing cement.
How to Address Flashing Leaks
Flashing is the thin metal sheeting (usually galvanized steel or aluminum) used to seal joints where the roof meets vertical surfaces like walls, chimneys, and dormers. When flashing corrodes, separates, or was improperly installed, water channels directly into the wall cavity.
Minor flashing leaks where the metal is still intact can sometimes be re-sealed with roofing caulk rated for metal-to-surface applications. Deteriorated or improperly lapped flashing needs full replacement. This typically involves removing the lower course of siding and the adjacent shingles, which is why flashing repair is best left to experienced roofers.
How Do You Know If a Roof Leak Needs Professional Repair?
Quick Answer: Call a professional if the leak involves flashing replacement, valley damage, rotted decking, or chimney work. Also call a roofer if your roof pitch is steep, the damaged area is larger than a few square feet, or you’re not confident working at height.
Signs the Job Is Beyond DIY
A single cracked shingle or a failed pipe boot seal are reasonable DIY repairs for a handy homeowner. But several conditions push a repair into professional territory.
- The roof decking (plywood or OSB) is soft, spongy, or visibly rotted
- Multiple shingles are damaged across a large area
- Flashing replacement requires removing siding or masonry
- You find mold in the attic insulation or on framing
- The leak persists after a DIY repair attempt
- Your roof is under warranty and DIY work could void it
What to Ask a Roofing Contractor Before Hiring
Not every roofing contractor offers the same quality. Before signing anything, ask these questions:
- Are you licensed and insured for roofing work in this state?
- Will you provide a written estimate with itemized materials and labor?
- Do you warranty your repair work, and for how long?
- Will you pull any required permits?
- Do you use subcontractors, and if so, are they also insured?
A reputable contractor will answer all of these questions without hesitation. Pressure to sign immediately or pay fully upfront are red flags.
Does Homeowners Insurance Cover Roof Leak Repairs?
Quick Answer: Homeowners insurance typically covers sudden and accidental roof damage, like storm or hail damage. It usually does not cover leaks caused by neglect, wear, or improper installation. Document damage thoroughly before making any repairs.
What Insurance Covers vs. What It Doesn’t
Most standard homeowners policies (HO-3 policies) cover roof damage caused by named perils: wind, hail, falling objects, and fire. A tree branch punching through your roof is covered. Shingles that slowly curled and cracked over ten years are not.
The key distinction insurers use is “sudden and accidental” versus “gradual deterioration.” If a leak results from a storm event, you have a strong claim. If the roof was already past its useful life, the insurer may deny the claim or offer a depreciated payout.
| Leak Cause | Typically Covered? | Notes |
|---|---|---|
| Wind or hail damage | Yes | Most HO-3 policies; deductible applies |
| Fallen tree or debris | Yes | Sudden and accidental — typically covered |
| Worn-out shingles | No | Considered maintenance failure |
| Improper installation | No | May be a contractor liability issue instead |
| Ice dam damage | Sometimes | Depends on policy and state; often excluded |
| Skylight flashing failure | No (usually) | Treated as maintenance if gradual |
How Can You Prevent Roof Leaks From Happening Again?
Quick Answer: Inspect your roof twice a year — once in spring and once in fall. Clear debris from valleys and gutters, check flashing seals around all penetrations, and replace any cracked or curled shingles before the next rain season. Proactive maintenance prevents most leaks.
Annual Roof Inspection Checklist
You don’t need to hire someone for a basic visual inspection. From the ground with binoculars, or safely from the ladder at eave height, you can spot most early warning signs.
- Shingle condition: look for curling edges, missing granules, cracked tabs, or bare patches
- Flashing integrity: check around every chimney, skylight, vent, and wall junction for gaps, rust, or separation
- Valley health: make sure the valley channel is clear of debris and the flashing is flat and uncracked
- Gutter attachment: loose or sagging gutters pull fascia boards away from the roof edge, creating an entry point
- Attic ventilation: proper airflow in the attic prevents moisture buildup that degrades decking from the inside
When to Replace Instead of Repair
At some point, repairs become more expensive than replacement. A roof with widespread shingle granule loss, multiple active leak points, or decking damage across more than 30% of its surface area has likely crossed that threshold.
Asphalt shingle roofs have an expected lifespan of 20 to 30 years depending on shingle quality and climate. If your roof is within five years of that range and leaking in multiple locations, a full replacement is usually the smarter financial decision.
| Factor | Lean Toward Repair | Lean Toward Replacement |
|---|---|---|
| Roof age | Under 15 years | Over 20 years |
| Leak locations | One isolated area | Multiple areas or widespread |
| Decking condition | Solid, no soft spots | Soft, rotted, or delaminating |
| Shingle condition | Mostly intact with isolated damage | Widespread curling, cracking, or granule loss |
| Repair cost vs. replacement | Repair under 25% of replacement cost | Repair exceeds 30% of replacement cost |
Frequently Asked Questions
Can a roof leak be fixed from the inside?
You can temporarily slow a leak from the inside using roofing tape or roofing cement applied to the underside of the decking. This is not a permanent fix. Water will continue to degrade the decking until the exterior source is sealed properly.
How much does it cost to fix a roof leak?
Minor repairs like a pipe boot replacement or a few damaged shingles typically run $150 to $600. Flashing repairs range from $500 to $2,000. Valley or structural repairs can reach $2,500 or more. The cost depends on the leak source, materials needed, and how much damage has already occurred.
How long does a roof leak repair last?
A properly done permanent repair should last 10 to 20 years or more, depending on the materials used and the surrounding shingle age. Temporary patches like tarps or lap sealant are intended to hold for weeks to a few months, not years.
What is flashing on a roof?
Flashing is thin metal sheeting installed at joints and transitions on a roof — around chimneys, skylights, walls, and valleys. Its job is to prevent water from entering where two surfaces meet. Aluminum and galvanized steel are the most common materials.
Can I fix a roof leak myself?
Yes, for simple repairs like replacing a damaged shingle, re-sealing a pipe boot, or recaulking around a vent. Jobs that involve flashing replacement, valley repairs, or rotted decking are better handled by a licensed roofing contractor to avoid making the damage worse.
How do I know if my roof leak is covered by insurance?
Your claim is most likely covered if the damage was caused by a sudden event like a storm or falling debris. Gradual wear and maintenance failures are usually excluded. Review your policy’s named perils list and document the damage before any cleanup or repairs.